
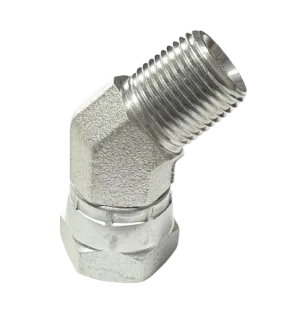
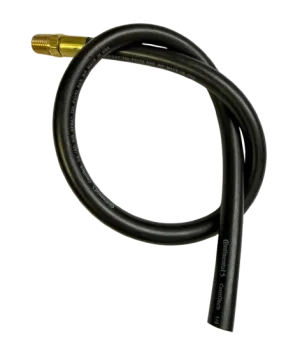
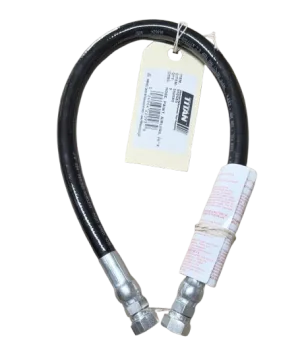
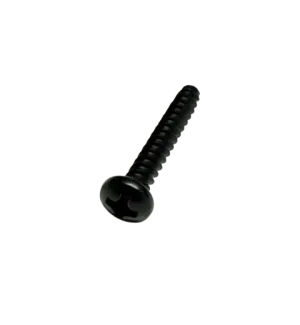



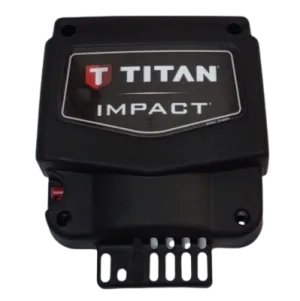
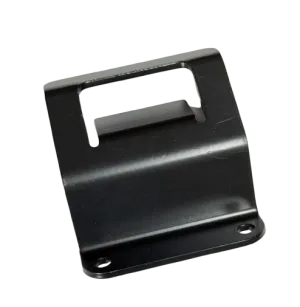
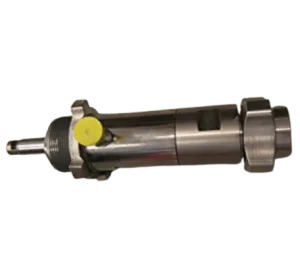
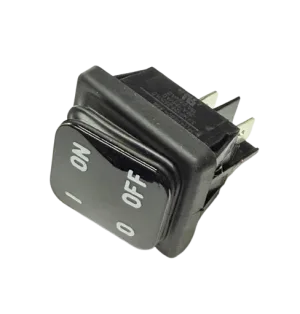
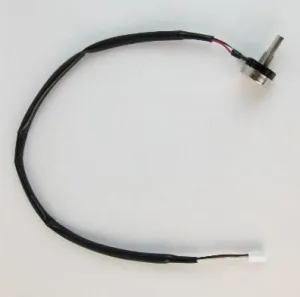
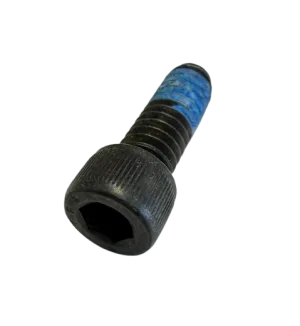
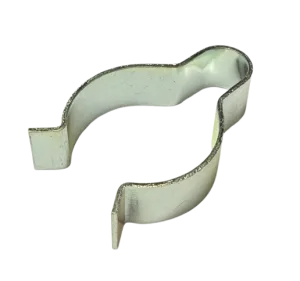
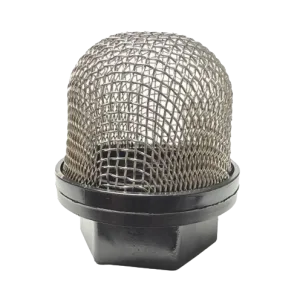
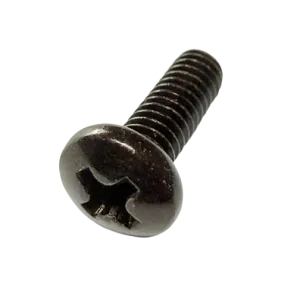

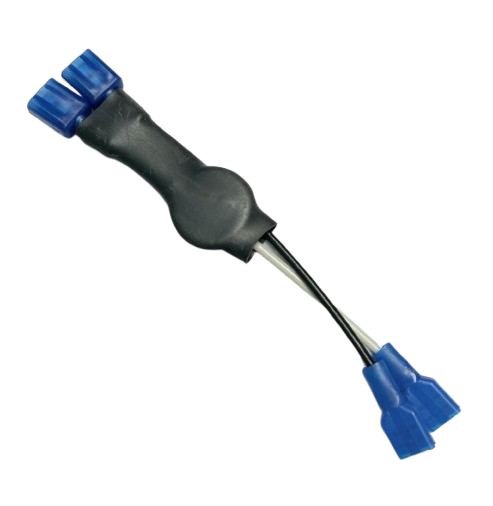
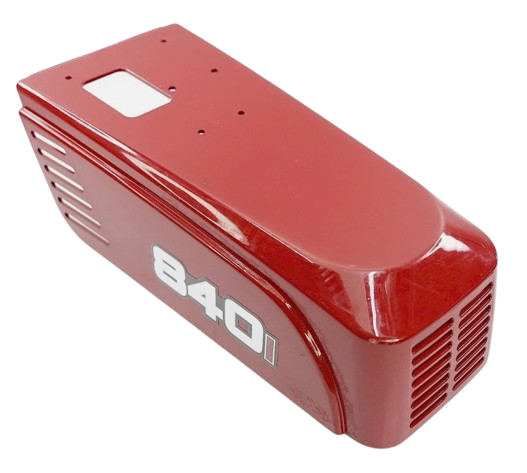
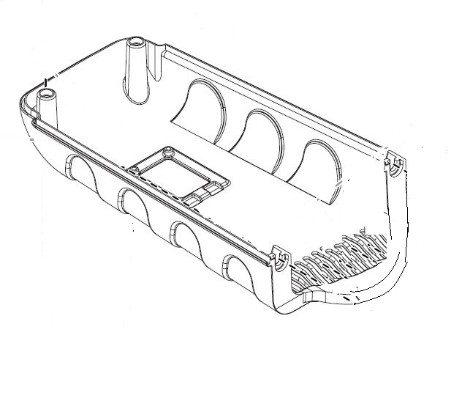

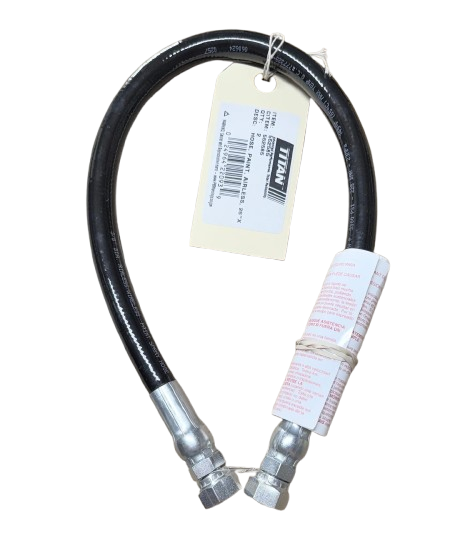
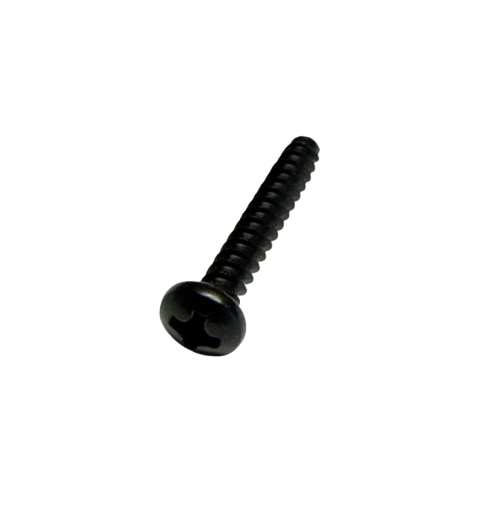
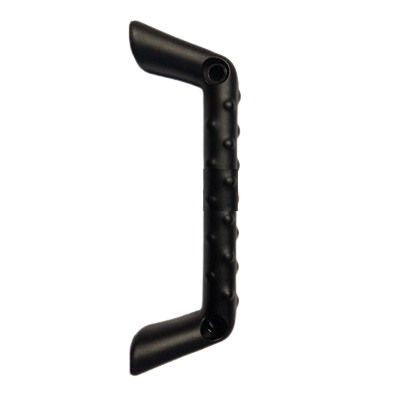
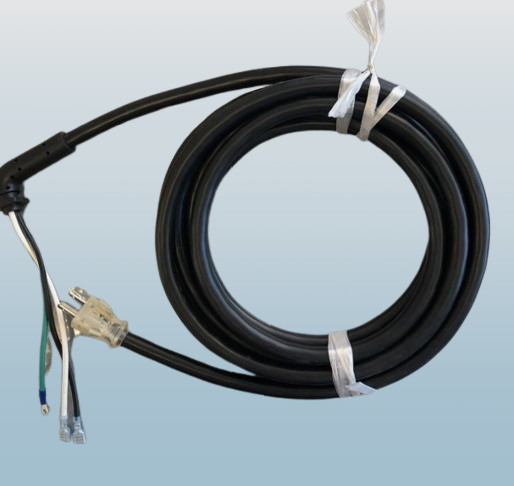
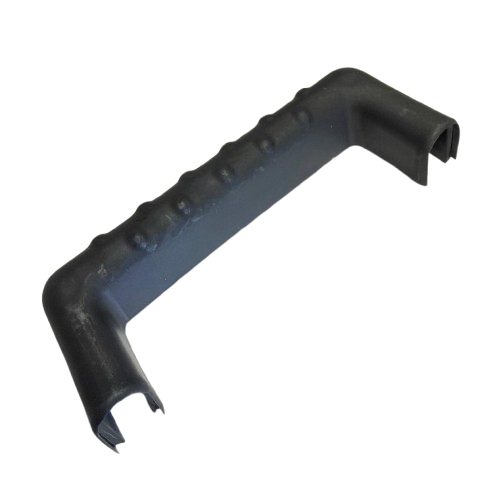
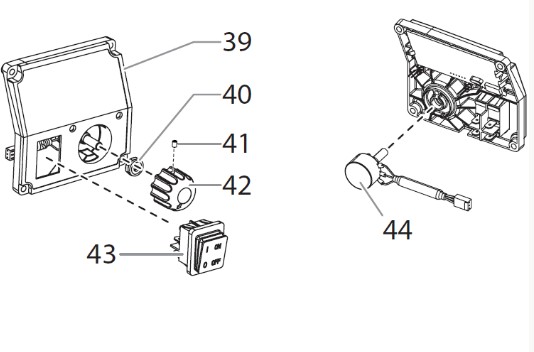
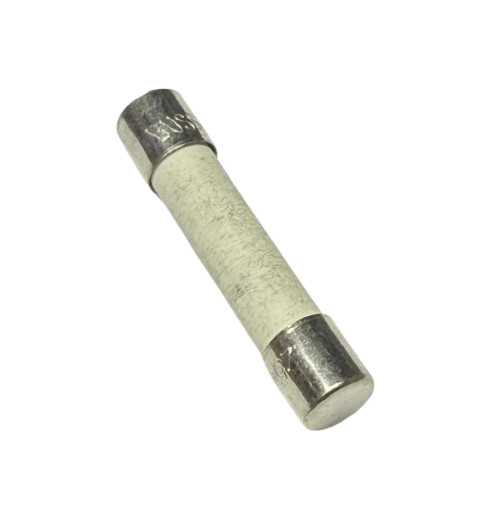

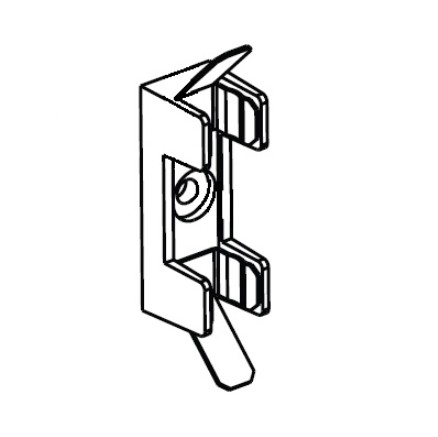
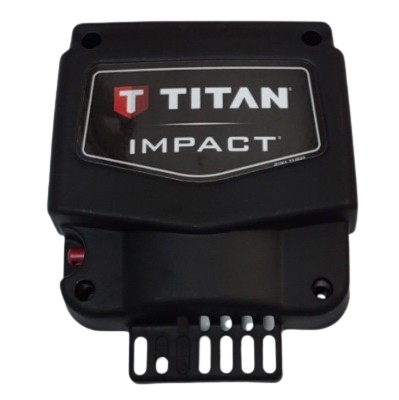
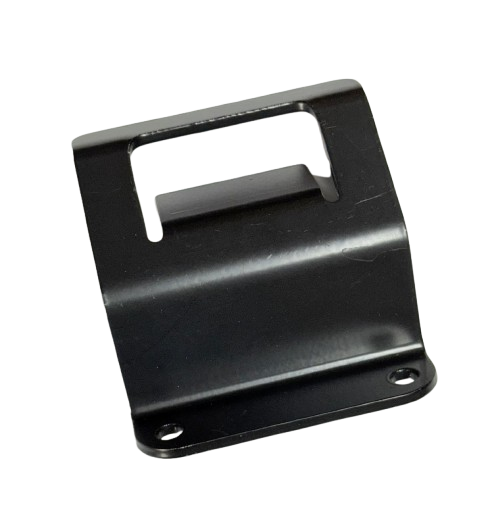
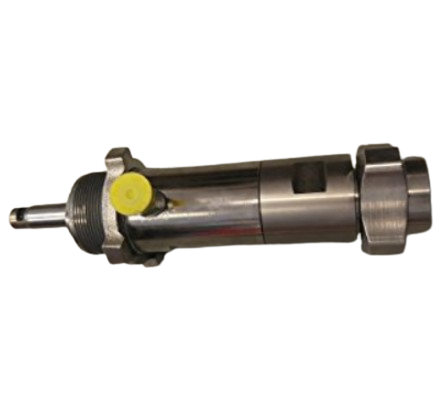
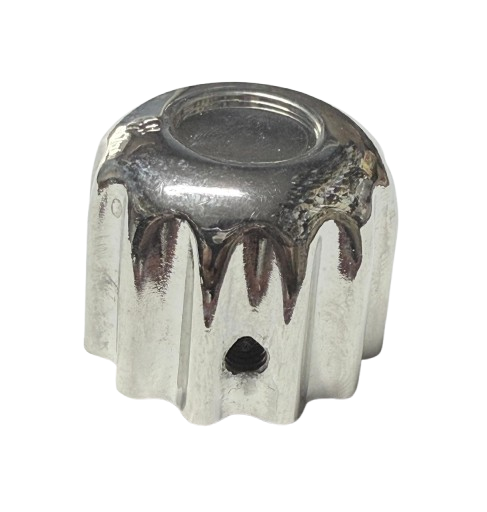

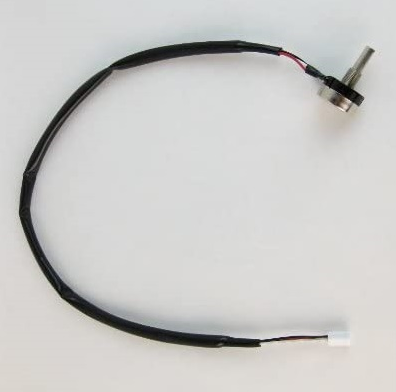
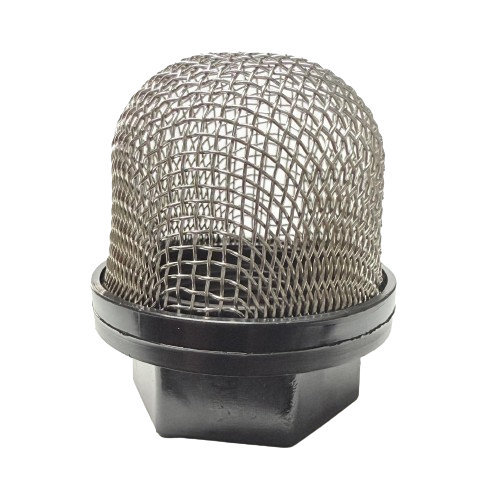
Titan Impact 740 Main Assembly Parts
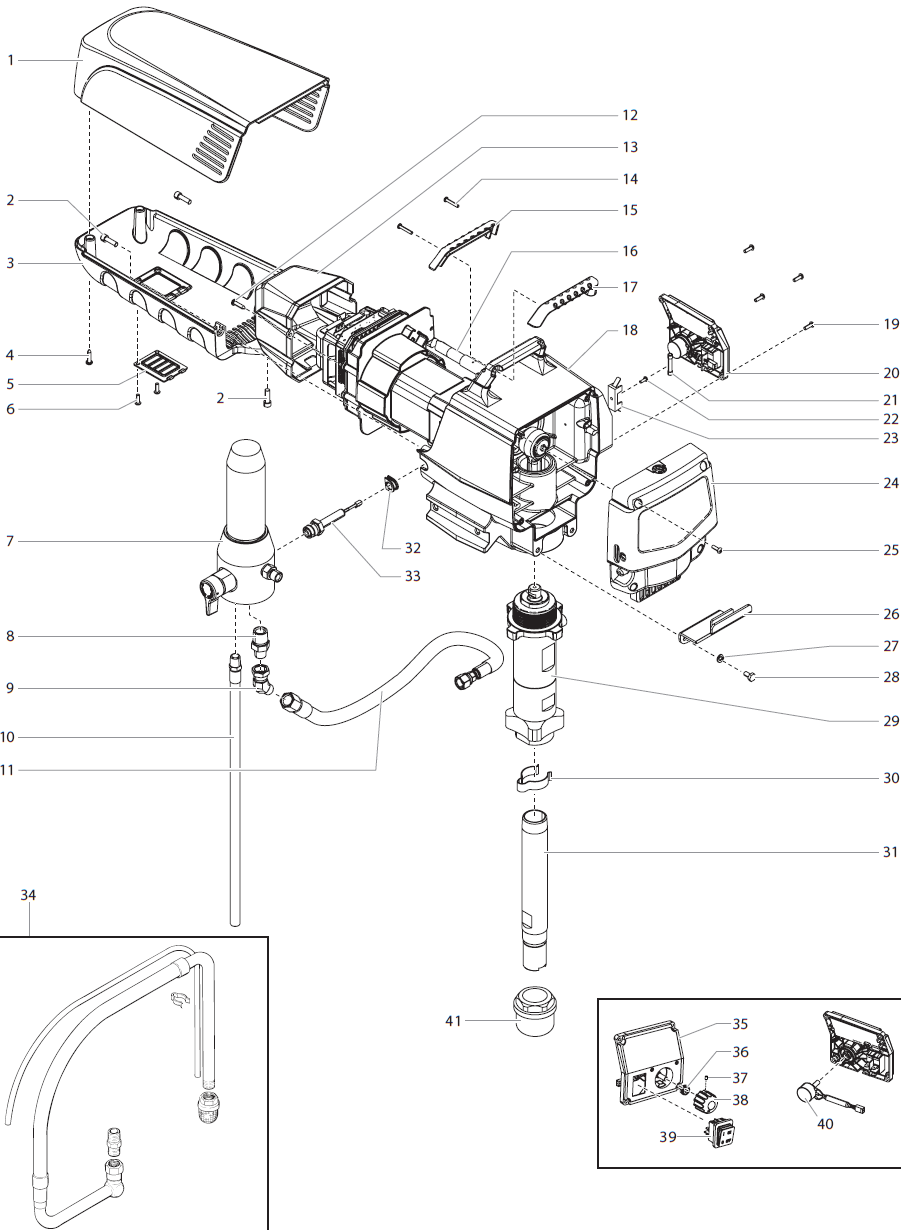
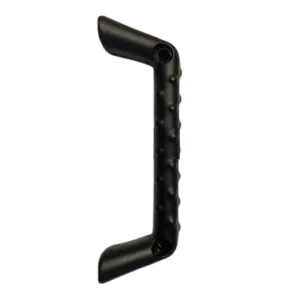
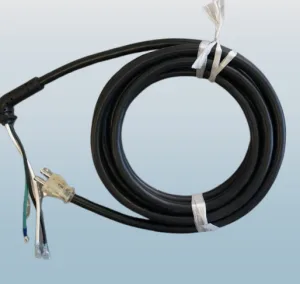
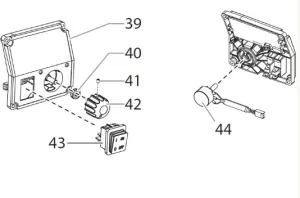
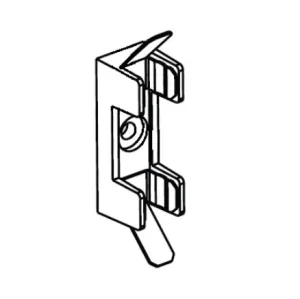
Shop genuine OEM Titan Impact 740 Main Assembly Parts for servicing and repairing the sprayer’s primary machine assembly. Use the applicable exploded parts diagram to locate the component you need, identify its numbered callout, match it with the correct Titan OEM part number, and confirm the machine configuration before ordering.
Find the Correct Impact 740 Main Assembly Parts
The Main Assembly parts section is the starting point for many Titan Impact 740 repairs because it identifies components positioned throughout the primary machine assembly. It helps technicians, contractors, maintenance departments, and equipment owners move from a physical component to its diagram reference and corresponding Titan OEM part number.
For accurate ordering, do not identify a replacement component by appearance alone. Confirm the Impact 740 configuration, locate the component on the applicable exploded drawing, identify its numbered callout, and verify the corresponding Titan part number and required quantity.
What Is the Impact 740 Main Assembly?
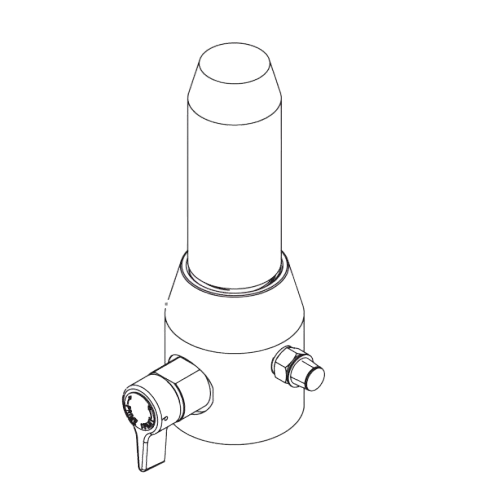
The Main Assembly drawing provides an organized view of the primary components and connections that make up the applicable Impact 740 machine configuration. It is especially useful when identifying a visible machine component or determining which dedicated subsystem should be consulted for a more specific repair.
Some repair areas may also have dedicated diagrams for the fluid section, drive system, suction system, frame configuration, or accessories. When a component belongs to one of those systems, use the corresponding assembly drawing for the most precise part identification.
Impact 740 Main Assembly Areas to Inspect
Exact components vary by machine configuration and drawing. Always use the applicable Impact 740 parts diagram to verify component names, callouts, quantities, and Titan OEM part numbers.
Inspect visible components shown on the main assembly drawing for wear, damage, looseness, leakage, missing hardware, or incorrect installation.
Check brackets, supports, mounting locations, and adjoining hardware where machine components attach to the applicable frame structure.
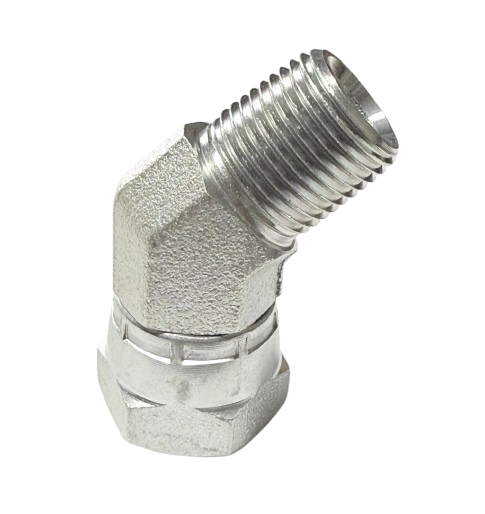
Inspect applicable fluid-path connections for leakage, damage, looseness, contamination, or other visible conditions requiring service.
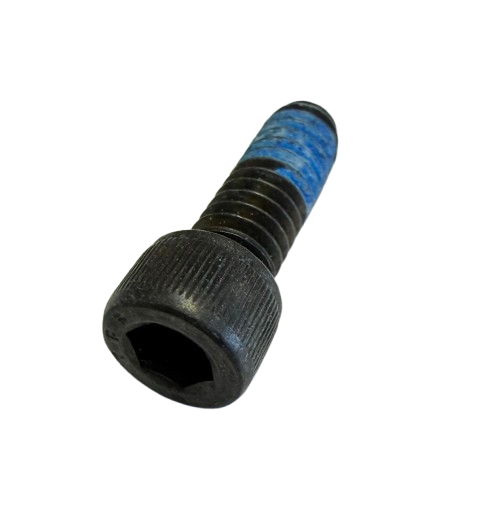
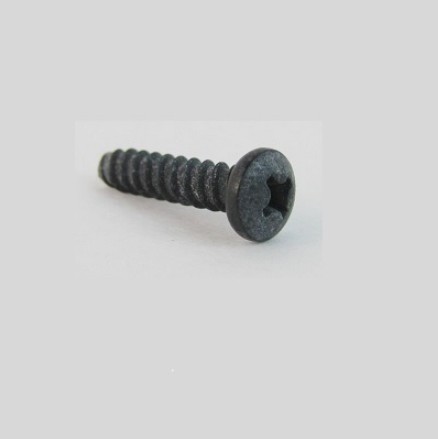
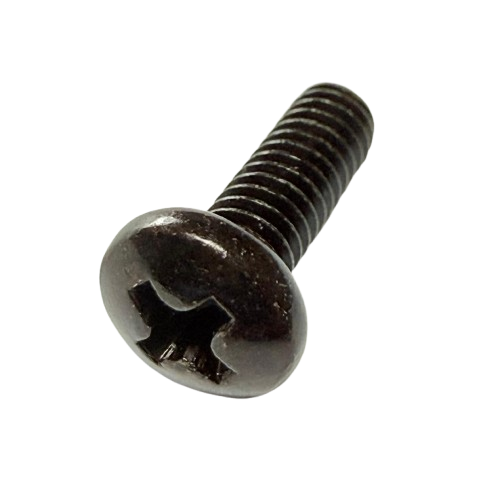
Verify applicable screws, bolts, nuts, washers, retainers, clips, and related hardware using the exploded diagram and parts listing.
Find Your Impact 740 Main Assembly Parts Faster
A diagram-first approach reduces ordering errors and helps distinguish similar-looking components used elsewhere in the Titan Impact family.
Verify that the machine being serviced is the applicable Titan Impact 740 configuration.
Find the required component on the applicable Impact 740 exploded parts drawing.
Match the numbered callout with the corresponding genuine Titan OEM part number.
Confirm the part number, diagram position, configuration, and required quantity before ordering.
Troubleshooting Your Titan Impact 740
Start by identifying the symptom and where it occurs. A visible loose or damaged component may be found on the Main Assembly drawing, while priming, pressure, mechanical-drive, suction, or frame-related symptoms may point to a dedicated Impact 740 subsystem.
Avoid replacing parts based only on a symptom. Inspect related components and connections, determine which assembly is involved, and use the corresponding exploded drawing to identify the exact Titan OEM replacement part.
Impact 740 Inspection & Parts Identification Guide
| Condition | Inspect | Next Step |
|---|---|---|
| Visible damaged component | Main assembly location and adjoining parts | Locate the component on the drawing and verify its exact part number |
| Loose or missing hardware | Fasteners, supports and mounting points | Verify callout, hardware type, location and quantity from the parts listing |
| Difficulty priming | Suction and fluid systems | Inspect the dedicated Suction Set and Fluid Section diagrams |
| Poor pressure or pumping performance | Fluid path and pump system | Use the Fluid Section parts diagram for pump-related inspection |
| Mechanical noise or binding | Drive system and adjoining components | Inspect the dedicated Drive Assembly parts section |
| Machine feels unstable | Frame, supports and mounting hardware | Use the applicable frame-configuration diagram and inspect mounting points |
Main Assembly or Another Impact 740 Parts Section?
Choosing the correct assembly section can make part identification faster and reduce the risk of ordering a similar-looking but incorrect component.
Start here for primary machine components and items specifically identified on the Impact 740 main exploded drawing.
Use for pump components associated with priming, pressure generation, fluid sealing, leakage, and pumping performance.
Use for mechanical drive components when troubleshooting abnormal mechanical noise, binding, wear, or power-transfer concerns.
Use for material-intake components associated with drawing coating from the supply container toward the pump.
Impact 740 Main Assembly Service Guidance
Identify the affected component and inspect nearby connections, mounting points, and hardware before removing parts.
Record the diagram callout, component position, orientation, part number, and quantity needed before beginning the repair.
Confirm that serviced components, connections, guards, supports, and fasteners are correctly installed before returning the sprayer to operation.
Find the Correct Impact 740 Parts Section
| Repair Area | Parts Section | Typical Use |
|---|---|---|
| Primary machine components | Main Assembly | Parts identified on the main exploded drawing |
| Pump & pressure components | Fluid Section Assembly | Pump, sealing, valve and fluid-handling components |
| Mechanical power transfer | Drive Assembly | Mechanical drive and related components |
| Material intake | Suction Set Assembly | Suction, intake, return and related components |
| Frame & support components | Applicable Frame Assembly | Structural, mounting, mobility and support components |
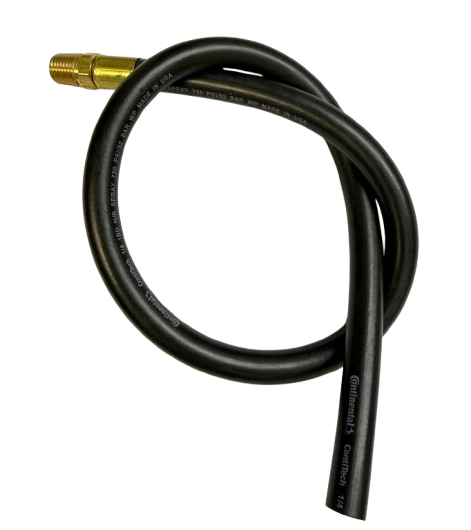
| Gun, hose, tip & external equipment | Accessories | Applicable external airless spray equipment |
Service Your Titan Impact 740 Safely
Before servicing the Impact 740, shut down the sprayer, disconnect electrical power, and follow Titan's complete pressure-relief procedure. Never begin disassembly while the fluid system remains pressurized.
Follow the applicable Titan operating and service instructions for removal, installation, inspection, fastening, and testing. Replace damaged high-pressure components rather than attempting unsafe temporary repairs, and verify that guards, connections, fasteners, and serviced components are properly installed before operation.
Confirm the Correct Impact 740 Part Before Ordering
Titan components can appear similar across related sprayer models, assemblies, and machine configurations. A visual match alone is not sufficient to establish compatibility.
Confirm the Impact 740 configuration, select the correct exploded drawing, locate the required component, and match its numbered callout with the exact Titan OEM part number and quantity before purchasing.
Explore More Titan Impact 740 Parts
Start with the Impact 740 Main Assembly or browse the complete Titan Impact parts category when your repair involves another machine system.
Shop Titan Impact 740 Main Assembly Parts
Use the Impact 740 exploded parts diagram to identify the component you need, match its numbered callout with the exact Titan OEM part number, confirm the required quantity, and order the correct replacement for your repair.
Find Impact 740 Main Assembly PartsTitan Impact 740 Main Assembly Parts FAQs
What are Titan Impact 740 Main Assembly Parts?
They are genuine Titan OEM replacement components identified within the primary Impact 740 machine assembly and its applicable exploded parts drawing.
How do I identify the correct Impact 740 replacement part?
Confirm the machine configuration, locate the component on the applicable exploded drawing, identify its numbered callout, and match that reference with the corresponding Titan OEM part number.
Should I use the Main Assembly diagram for every Impact 740 repair?
Not always. Pump, drive, suction, frame, and other systems may have dedicated diagrams that provide more precise component identification for those repair areas.
Where should I look if my Impact 740 will not prime?
Priming problems commonly require inspection of the material-intake and pump systems. Inspect the applicable Suction Set and Fluid Section components and use their dedicated diagrams for part identification.
Where should I look for an Impact 740 pressure problem?
Pressure or pumping concerns may involve the fluid section, suction system, downstream spray equipment, or another related area. Diagnose the system before selecting a replacement component.
Can I identify an Impact 740 part by appearance?
No. Similar-looking components can have different applications or part numbers. Use the correct exploded diagram and numbered callout to verify the exact Titan OEM replacement part.
Should I inspect adjoining parts when replacing a damaged component?
Yes. Inspect nearby mounting points, fasteners, connections, supports, and related components when damage or wear could have affected more than the individual replacement part.
Where can I find other Titan Impact 740 replacement parts?
Use the applicable Impact 740 assembly sections for the system being repaired, or browse the complete Titan Impact Sprayer Parts category to locate additional genuine OEM replacement components.