




PowrCoat 1072 · Model 05331072C · 72:1 · 7,200 PSI
Secure the PowrCoat 1072 Wall System With Verified Structural, Air and Fluid Components
Shop diagram-matched parts for the PowrCoat 1072 wall configuration, including mounting hardware, air tubing, motor support hardware, pump assembly and filter assembly.
28-position exploded wall-mount replacement-parts category
Diagram positions retained only when confirmed.
Inspect the complete component group.
No more than six active links.
PowrCoat 1072 Wall Mount Assembly
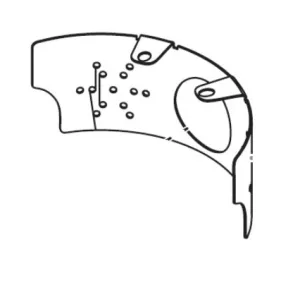
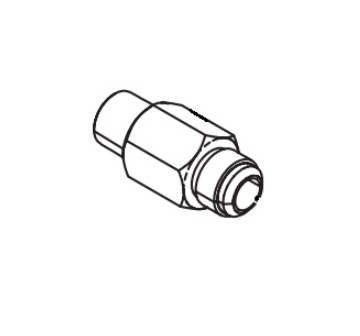
Titan’s official wall-mount diagram covers the structural wall weldment, fastening groups, upper shroud, 10-inch air motor, motor bracket, stanchions, pump assembly, inlet elbow, filter fitting and high-pressure filter. The PowrCoat 1072 uses a 72:1 pressure ratio with a maximum operating pressure of 7,200 PSI and maximum air inlet pressure of 100 PSI.
Verified component index: 9805426, 9822651, 0533969, 0509292, 0533979, 0533971, 858-625, 9821503, 0533579, 0533973, 0533974, 0533976, 9822637, 9812326, 0533264, 0533977, 0533978, 0533265
Functions Supported by the Assembly
- Supports the complete wall-mounted sprayer structure.
- Positions the 10-inch air motor above the fluid pump.
- Routes compressed air through the upper pneumatic connections.
- Maintains fluid alignment between pump and filter.
- Provides verified gun storage and service access.
Service Applications
- Correcting loose or distorted wall hardware.
- Repairing air-tube and fitting leaks.
- Replacing damaged motor support components.
- Restoring pump-to-filter alignment.
- Planning complete wall-system service.
Troubleshooting
Relieve all air and fluid pressure. Inspect genuine components shown on this page and diagnose the actual failure before replacement.
High-Value Replacement Parts
Only active products verified on the supplied category and matched to working internal destinations are linked.
Titan 9805426 Screw
Structural 3/8-16 fastener used at the wall-mount frame.
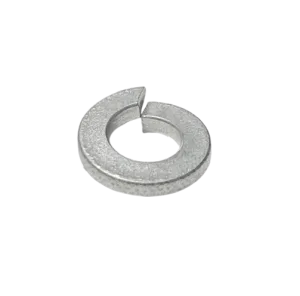
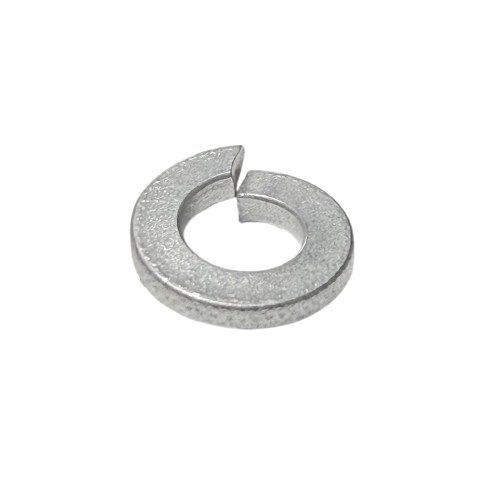
Titan 9822651 Washer
Flat mounting washer distributing load at the wall assembly.
Titan 0533971 Air Tube
Formed pneumatic supply tube used within the wall-mount system.
Titan 0533974 Motor Mount Bracket
Structural bracket supporting correct air-motor alignment.
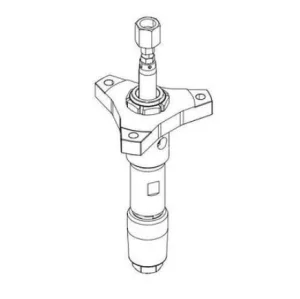
Titan 0533264 Pump Assembly
Complete PowrCoat 1072 severe-service pump assembly.
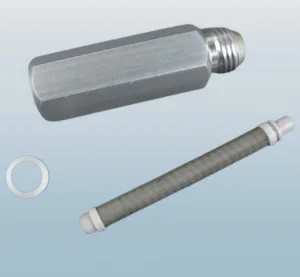
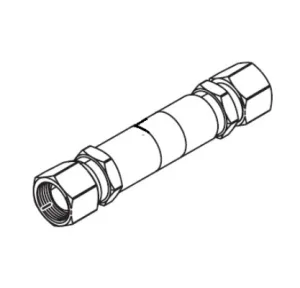
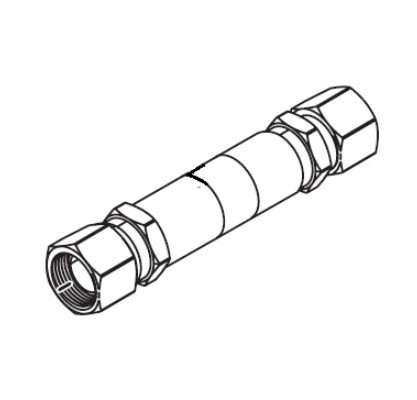
Titan 0533265 Filter Assembly
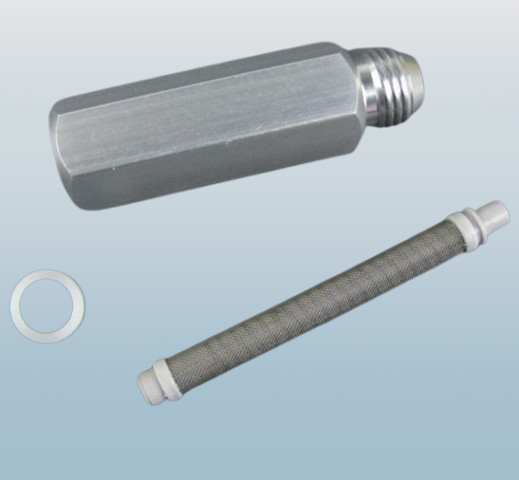
High-capacity outlet filter assembly for pressurized coating flow.
Buying Guide
Confirm the assembly
Use the exact PowrCoat 1072 diagram.
Match the callout
Check part number and component name.
Inspect mating parts
Find the true failure point.
Order verified fitment
Exclude discontinued or uncertain items.
Maintenance
- Relieve all stored pressure before service.
- Keep air and coating passages clean.
- Inspect seals and mating surfaces together.
- Check fasteners and connections for alignment.
- Record model, part number and service date.
- Replace only after confirming the fault.
Repair Planning
Record the exact model, diagram position, symptom and affected connection before disassembly. Photograph routing and orientation where useful, then inspect every mating pair so the repair addresses the cause rather than only the visible symptom.
Fast Navigation
FAQ Section
Repair the PowrCoat 1072 With Verified Information
Use the exact part number, diagram position and operating symptom to narrow the correct replacement.
- Titan part number
- Assembly callout
- PowrCoat 1072 model
- Component or repair-kit name
- Operating symptom