
Park the piston at the bottom of its stroke, stop the engine and relieve pressure. Take off the inlet valve housing, remove the two manifold screws with a 3/8 inch hex wrench and slide the manifold off the slider's T-slot. Pull the retainer nut, piston guide and both packings, grease the new ones, fit the upper lip-down and the lower bevel-up, then push the piston back through with the installation tool.
- Signs the PowrLiner 2850 Needs Repacking
- PowrLiner 2850 Repack Parts and Tools
- Pressure Relief and Engine Shut-Down Before Repacking the PowrLiner 2850
- Repacking the PowrLiner 2850: Step by Step
- Test the PowrLiner 2850 After Repacking the Fluid Section
- Mistakes to Avoid When Repacking the PowrLiner 2850 Fluid Section
- Order the PowrLiner 2850 Repacking Parts
Titan's PowrLiner 2850 manual files repacking under servicing the fluid section (section 7.6), and this guide follows that procedure in its own order, with the part numbers from the site's 2850 diagrams added. The 2850 is a gas engine-driven striper, so the job opens with the engine running: you use it to bring the piston down before anything is loosened. Keep the manual open beside you, because its figures show where each numbered piece sits.
Signs the PowrLiner 2850 Needs Repacking
Symptoms that point to worn packings
- Paint leaking at the upper end of the fluid section. The manual's troubleshooting table names worn upper packings as the first cause and a worn piston rod as the second.
- Pressure that will not build or hold once the tip, filters and siphon have checked out. The table then points inside the pump: packings that are worn or dirty, or worn valve balls.
- Paint showing in the fluid section oil cup, the cup you fill with Piston Lube at setup. On a piston pump, paint there is a general sign of worn packings.
Rule out the tip and filters first
Several causes on the manual's pressure list are quicker and cheaper to check than a repack. In its order they are: a worn spray tip, a tip that is too large, the pressure control knob set too low, a clogged pump filter, gun filter or inlet screen, material running out of the return hose while the PRIME/SPRAY valve is on SPRAY, an air leak at the siphon tube, and an external leak at a connection. Our guides to telling a worn tip from other pattern faults and cleaning the inlet screen, pump filter and gun filter cover the cheap checks. If the valves turn out to be the problem, the same chapter of the manual cleans the balls and reverses or replaces the seats, and that work starts the same way as this one.
PowrLiner 2850 Repack Parts and Tools
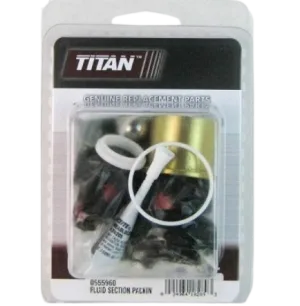
Repacking kit or upper and lower packings
Tools and supplies
- Phillips screwdriver for the four front cover screws
- 3/8 inch hex (socket head) wrench for the two cylinder head screws on the pump manifold
- Adjustable wrench for the final tightening of the retainer nut
- Rubber mallet for tapping the piston up through the packings
- Machine grease for the packings, the piston, the installation tool and the inlet valve housing O-ring
- The piston installation tool, which the manual says is included with the replacement packings
- Cleaning agent for the pump manifold, Piston Lube for the oil cup, and a grounded metal waste container
Pressure Relief and Engine Shut-Down Before Repacking the PowrLiner 2850
Once the piston is parked, Titan's 2850 procedure has you turn the engine off and carry out the pressure relief procedure from section 4.5 before you touch the pump. In short: lock the gun, turn the pressure knob fully counterclockwise, set the relief valve to PRIME, move the throttle lever to slow and switch the engine OFF. Then release the trigger lock, hold the gun's metal part against a grounded metal container, trigger out what is left in the hose and lock the gun again. Our pressure relief article explains why each step is there.
Repacking the PowrLiner 2850: Step by Step
Step 1: Park the piston, stop the engine and relieve pressure
Remove the four front cover screws with a Phillips screwdriver and lift the cover off. Start the engine, turn the pressure control knob clockwise to maximum and flick the ON/OFF switch in short bursts until the slider and piston rod come to rest at their lowest point. Turn the engine off and run the pressure relief procedure.
Step 2: Remove the fluid section
Take off the suction tube, unscrew the return hose and swivel the unit 90 degrees to the rear so the pump is easier to work on. Unscrew the inlet valve housing from the pump manifold (the outlet valve can stay in place), then remove both cylinder head screws with the 3/8 inch hex wrench and slide the manifold and piston forward until the piston leaves the T-slot on the slider.
Step 3: Remove the old packings
Push the piston down and out of the manifold. Unscrew the retainer nut, take out the piston guide, then remove the upper and lower packings and clean the pump manifold.
Step 4: Fit the new upper and lower packings
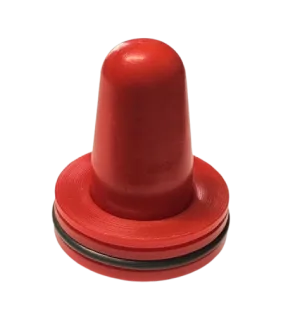
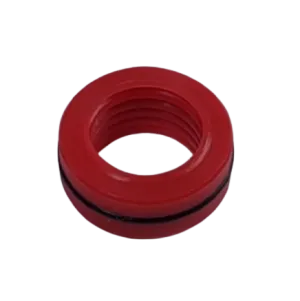
Grease both new packings with machine grease. Insert the upper packing with its O-ring and protruding lip downward, and the lower packing with its large beveled edge facing up. Drop the piston guide into the retainer nut and screw the nut into the manifold hand-tight.
Step 5: Refit the piston with the installation tool
Slide the installation tool onto the piston from above and grease the tool and the piston. Guide the piston up through the lower packing from below, tapping it lightly with a rubber mallet until it shows above the manifold, then pull the tool off and carefully tighten the retainer nut with the adjustable wrench.
Step 6: Reassemble and refit
Hook the top of the piston into the slider's T-slot, push the manifold up until it rests against the gear unit housing and screw it on tightly. Grease the O-ring between manifold and inlet valve housing, screw the housing back on, push the suction hose bend into it and secure it with its retaining clip, then reconnect the return hose, clamp it to the suction hose and refit the front cover.
Step 7: Prime and test
Add about a tablespoon of Piston Lube to the fluid section oil cup, as the setup section asks. Prime the way section 4.4 describes: knob at minimum, relief valve on PRIME, engine started, then SPRAY and trigger into a grounded container until the material comes out without interruption.
Test the PowrLiner 2850 After Repacking the Fluid Section
Check for leaks
With the pump primed and the gun locked, inspect the top of the fluid section, the joint at the inlet valve housing and every hose connection. New packings should end the leak at the upper end. If paint still appears there, the manual's next suspect is a worn piston rod. For any weep at an outside connection, its advice is simply to tighten that connection.
Confirm pressure and spray pattern
Fit the tip guard and tip, then turn the pressure knob up slowly and watch the pattern until the paint atomizes properly. Settle on the lowest setting that still does: the manual notes that running higher than needed wears the tip early and adds overspray. If pressure still will not build or hold, go back to the valves, which the same fluid section chapter covers.
Mistakes to Avoid When Repacking the PowrLiner 2850 Fluid Section
- Reaching in while the piston moves. Hands and tools stay clear until the engine is off.
- Packings the wrong way up. Upper: O-ring and lip down. Lower: large bevel up. Check each against Figs. 33 and 34 in the manual before you go on.
- Dry assembly. The manual greases the packings, the piston, the installation tool and the inlet housing O-ring. Skip none of them.
- Forcing the piston. Use the installation tool and light taps with a rubber mallet from below, as the manual describes.
- Reusing a worn rod. A scored piston rod destroys new packings, and the manual lists a worn rod as a cause of leaks at the top.
- Running it dry afterwards. Titan warns never to run the unit more than ten seconds without fluid, because that wears the packings.
Order the PowrLiner 2850 Repacking Parts
The kit, the packings and the rod are all on the PowrLiner 2850 fluid section diagram. If you would rather replace the whole pump than repack it, the 0290513A fluid section assembly is callout 3 on the main assembly page. With the manifold already off the slider, the transducer guide and the gears and slider guide start from the same point; you will find the rest under all repair guides. Our piston pump article explains what each sealing part does.
PowrLiner 2850 repacking parts from the fluid section and main assembly diagrams:
 −8%
−8%
 −8%
−8%
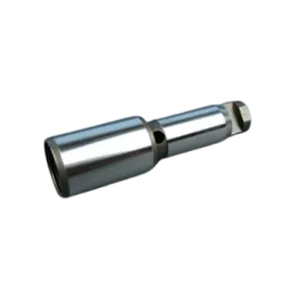
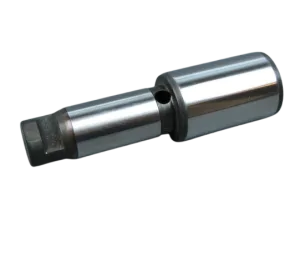
Packings, piston rod, pump manifold, valve balls and seats, and the repacking kit.
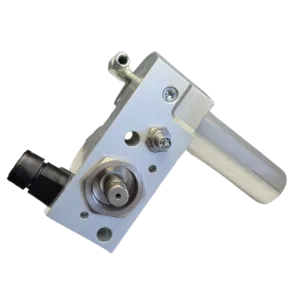
Complete fluid section, front cover, transducer and the relief valve handle.
Not sure which 2850 packing parts you need?
Call (713) 931-0006 with your PowrLiner 2850 serial number and we will confirm the kit or the separate packings before you order.
(713) 931-0006Order by Parts Diagram