
Switching an airless sprayer off does not release the pressure in the hose and gun. You do the pressure relief procedure from your manual before cleaning, servicing, changing a tip or filter, clearing a clog and when you stop work. The steps and the order differ between models, so use the page for your sprayer. This guide shows how Titan's manuals differ.
Why switching off does not remove the pressure
An airless sprayer works at very high fluid pressure, and that pressure stays in the hose and gun after the motor stops. Titan's Impact 440 and RX-Apex manuals say it plainly: pressure will not be released by turning off the motor. A valve has to be turned, and the gun triggered, as the manual for your model describes.
That is why a tip change on a sprayer that has just been switched off can still be dangerous. A high-pressure stream can pierce the skin and the tissue under it, and the injury can look like a small cut. Injection injuries have their own page, so the short version is this: it is a medical emergency, you get treatment immediately, and you tell the doctor what the fluid was.
When to relieve pressure
Titan's manuals tie the procedure to specific moments. Do it:
- Before cleaning the sprayer, hose or gun.
- Before servicing any part, including a filter.
- Before changing or cleaning a tip or tip guard.
- Before clearing a clogged tip.
- Whenever you stop work, including when you finish for the day.
The RX-Apex manual adds that you never repair or clean the gun, tip or guard before the pressure has been relieved. If you are not sure whether the pressure is gone, it is not. Run the procedure again.
The common steps in a Titan electric manual
Titan's electric airless manuals follow the same idea, with a different order. Neither list below is a universal procedure. Each one is the order that manual gives, so use the manual for your own sprayer.
Impact 440 manual
Lock the gun
Engage the trigger lock.
Switch the sprayer off
Turn the motor off.
Turn the pressure control knob counterclockwise to OFF
This takes the pressure setting to its lowest position.
Trigger the gun into a grounded metal container
Take the gun off lock first. The manual has you trigger into the container to release the pressure left in the hose and gun.
Lock the gun again
Re-engage the trigger lock.
Set the PRIME/SPRAY valve to PRIME
The valve position is the last step in this manual.
Impact 400 manual
The Impact 400 manual puts the steps in a different order. You lock the gun and set the valve to PRIME before you switch the sprayer off, then turn the pressure to minimum, take the gun off lock, ground it to a metal container and trigger it, then lock it again. Compare that with the Impact 440 sequence above: the valve moves earlier, and the pressure is turned down after the motor is off. This is why one remembered list is risky across models.
The ControlMax and the Impact 640 have their own manuals as well. Open the one for your sprayer on our manuals page and follow it, not the lists here.
Hydra and other models differ
Hydra sprayers use a bleed valve instead of a PRIME/SPRAY valve. The Hydra X manual says to lock the gun, turn the sprayer off, set the pressure to minimum, take the gun off lock and trigger it into a grounded metal waste container, then open the bleed valve. The Hydra M manual is different again: lock the gun, shut off the power, close the orange-handle shut-off ball valve, and open the pressure bleed valve counterclockwise at least three full turns.
These are summaries of two manuals, not a replacement for them, and we do not list steps for any model we have not checked. If your sprayer is not an Impact or a Hydra, the manual is the only source to trust.
Clearing a clogged tip safely
A clogged tip is the most common reason people reach for the tip on a loaded gun. Titan's RX-Apex manual gives the order: lock the gun, shut off the sprayer and relieve the pressure first. Never clear a tip with a finger.
On a reversible tip, the RX-Apex and ControlMax manuals then say to rotate the tip 180 degrees so the arrow on the handle points opposite the spray direction, and trigger the gun once. If the tip stays clogged, relieve the pressure again and follow your manual's cleaning steps.
Habits that keep it safe
- Engage the trigger lock whenever you are not spraying, and check that it works.
- Keep the tip guard on. Titan says never to spray without it.
- Ground the gun against the side of a metal container when you trigger it to relieve pressure.
- Never trigger the gun unless the tip is in the spray or unclog position.
- Keep your sprayer's manual and diagram where you work.
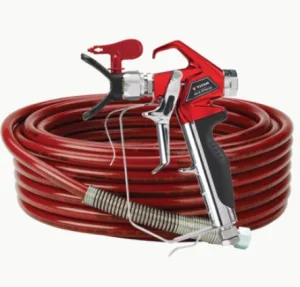
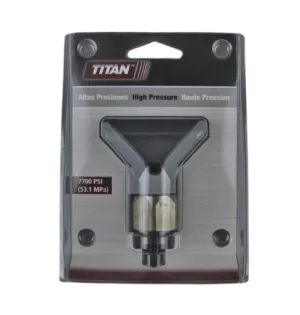
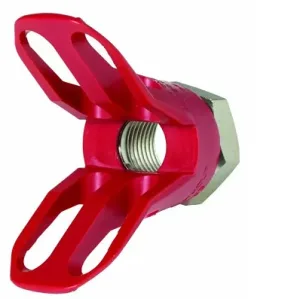
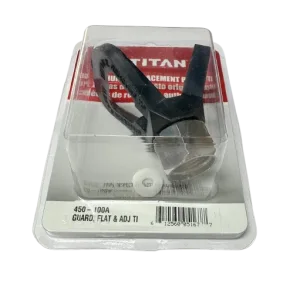
The guard and lock are wear parts like any other. A cracked or missing guard is a reason to replace it before the next job, and the tip guards page lists the ones on the site, including the 661-027, 0153003, 450-100A and 0289228. Confirm which one fits your gun before you order. Guns and tips are on the spray guns and tips page, or you can order by parts diagram for your sprayer.
Guns, guards and sprayers named in this guide:


The Short Version
Switching off never releases airless pressure. Relieve it before cleaning, servicing, changing a tip or filter, clearing a clog and stopping work, using the exact steps in your manual, because the order differs between the Impact 440, Impact 400 and Hydra models. Never clear a tip with a finger.
Need the right guard or gun for your sprayer?
Call (713) 931-0006 with your sprayer model and serial number and our parts team will confirm what fits.
(713) 931-0006Order by Parts Diagram