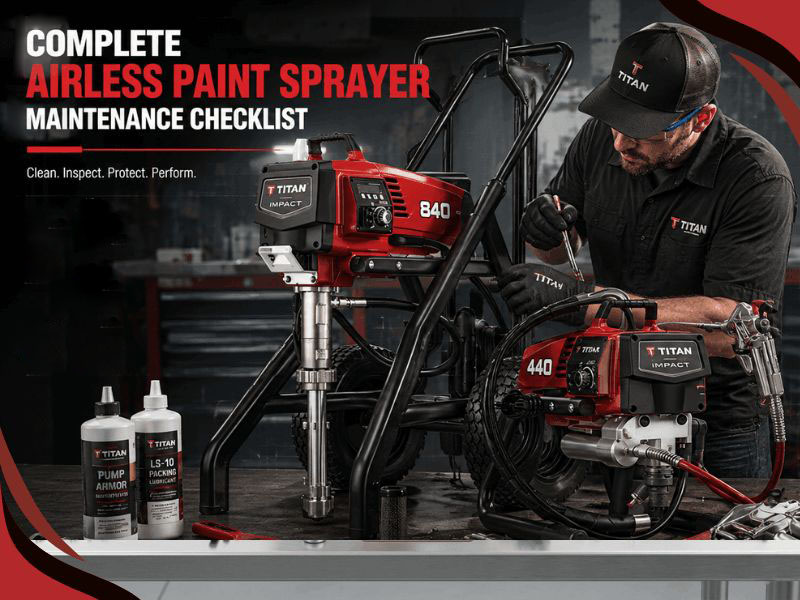
An airless sprayer is one of the hardest working tools on a job site, and it is also one of the most neglected. Most of the failures that send a unit to the repair bench are not really failures at all. They are the result of skipped cleaning and missed maintenance that let small problems grow into expensive ones. The encouraging part is that a solid maintenance routine takes only a few minutes and prevents the majority of breakdowns. This checklist covers what to do daily, weekly, and seasonally to keep your sprayer running like new.
Why Maintenance Matters More Than Repair
Every component in an airless sprayer wears according to how clean and well lubricated it stays. Dried paint is the enemy. It hardens inside the fluid section, scores the piston, clogs filters, and gums up valves. A sprayer that gets flushed properly after every use will outlast an identical machine that gets a quick rinse two times out of three. Maintenance is not about doing more work, it is about doing the right small tasks consistently so you never face the big jobs.
The Daily Checklist
At the end of every spraying day, the goal is to remove all paint from the fluid path before it has a chance to dry. Relieve the pressure, then flush the system thoroughly with the correct solvent or water depending on the material you sprayed. Run clean fluid through until it comes out clear at the gun, and do not rush this step.
Once flushed, clean the spray tip and tip guard, since dried material here is the fastest way to ruin a pattern. Remove and rinse the gun filter and the pump intake strainer. Wipe down the exterior so you can spot leaks early, and store the fluid section with a small amount of pump protector fluid so the seals do not dry out overnight. These few minutes at the end of the day prevent most of the trouble people blame on the machine.
The Weekly Checklist
Once a week, or after several heavy days, go a little deeper. Inspect the filters more closely and replace any that are torn, distorted, or no longer cleaning up well. Filters are cheap insurance, and a fresh one solves a surprising number of pressure complaints.
Check the hose for soft spots, kinks, or bulges, and inspect all fittings for leaks. Look at the spray tip for wear, since a worn tip widens the pattern and wastes material long before it fails completely. Top up the packing lubricant reservoir if your model has one, because dry packings wear out fast. Finally, give the inlet and outlet valves a quick function check by priming and listening for clean, strong suction.
Our breakdown on airless paint sprayer filters explains which filter does what and how often each should be swapped.
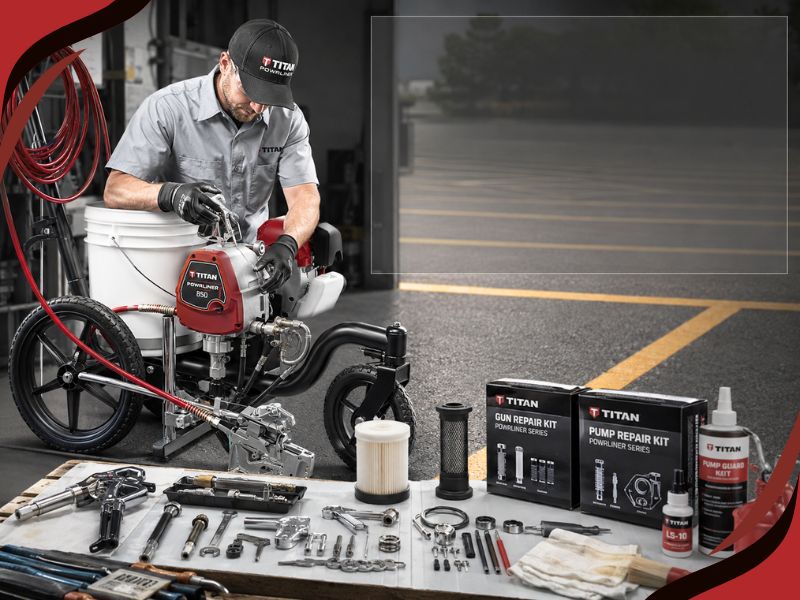
The Seasonal and Long-Term Checklist
A few times a year, or before a unit goes into storage, do a fuller service. Replace the fluid section packings if you have noticed any weeping or pressure fade, since rebuilding before failure is always cheaper than rebuilding after. Inspect the piston rod for scoring, as a scored rod will chew through new packings quickly. Check electrical connections and the pressure control for clean operation.
If the sprayer is going into long-term storage, flush it completely, then fill the fluid section with storage fluid to keep the seals supple and prevent corrosion. A machine put away wet and dirty is a machine that will fight you when you pull it back out months later.
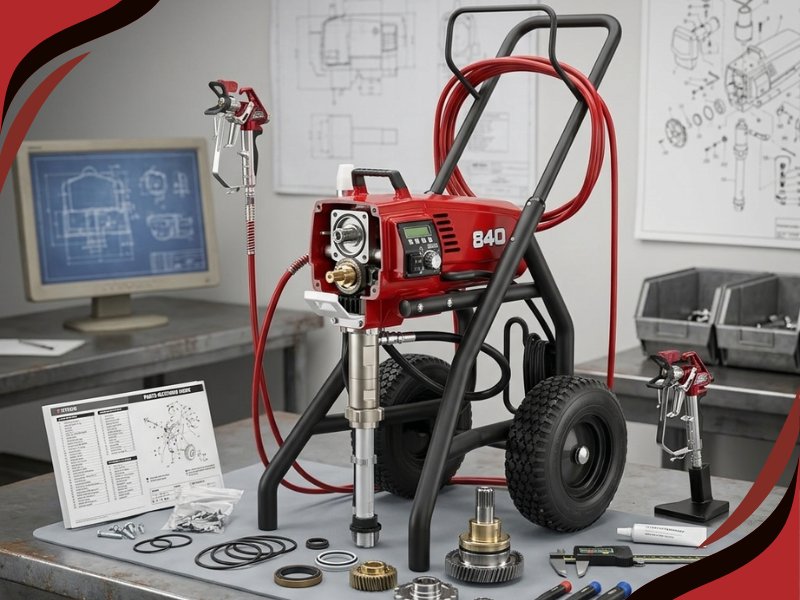
Keep the Right Parts on Hand
A maintenance routine only works if you have the parts to complete it. Stocking the common wear items, including filters, tips, packing kits, and valve components, means you never have to stop a job to chase down a part. Building a small shelf of titan replacement parts for the models you run is one of the smartest moves a busy contractor can make.
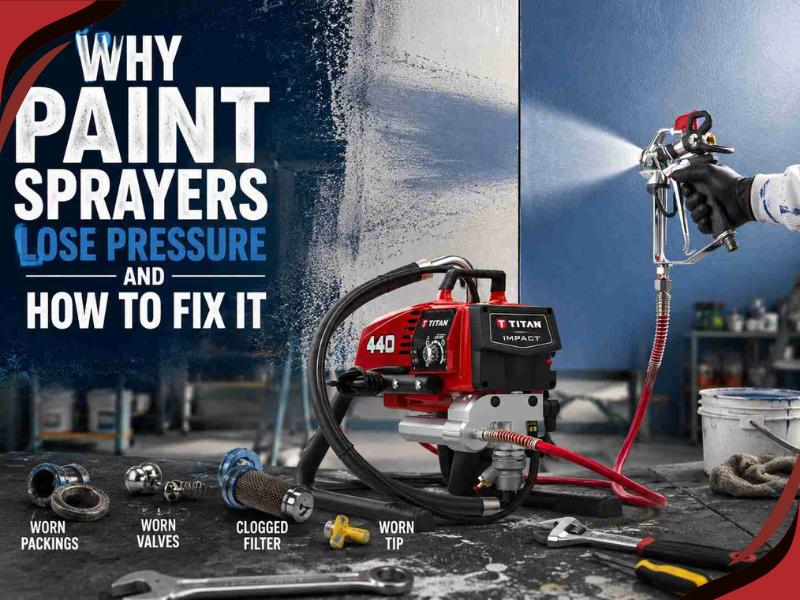
When Maintenance Reveals a Bigger Problem
Sometimes a maintenance check turns up a symptom that points past routine care, like pressure that will not hold even after a fresh filter and clean tip.
When that happens, our guide on why paint sprayers lose pressure helps you trace the fault to the right component instead of guessing. And for the complete reference that ties cleaning, repair, and compatibility together across the Titan range, the master titan paint sprayer parts guide covers every system in depth.
Final Thoughts
Good maintenance is quiet. You do not notice it working, you only notice when it is missing and the machine quits on you. Flush thoroughly every day, inspect filters and tips every week, and rebuild wear parts before they fail. Keep your common spares stocked, and your sprayer will reward you with years of dependable service and far fewer surprises on the job.
Frequently Asked Questions

Nnanna Otuonye is the founder of AllTitanParts.com, an authorized OEM dealer for Titan, SprayTech, Wagner, and Speeflo airless spray equipment, located at 5250 Gulfton St, Suite 1H, Houston, Texas 77081. With over 20 years in the spray equipment industry, Nnanna supplies painting contractors and industrial coating professionals across the United States with genuine factory parts and same-day shipping.
As the lead author of the AllTitanParts blog, he shares diagnostic guides, maintenance schedules, and OEM parts advice drawn from two decades of hands-on field experience.
.jpg)