
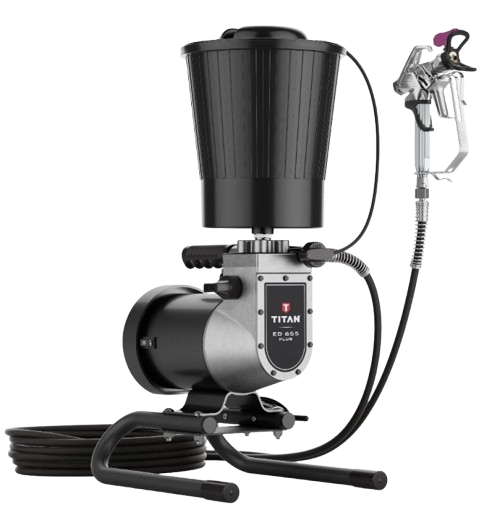
The Titan ED655 is an airless diaphragm pump, so its service parts are the diaphragm, the inlet and outlet valves and the hopper filter, not piston packings. Using the OEM parts diagram to order the right part, and following the manual for your version, keeps service simple.
This guide covers how to use the ED655 parts diagram to identify what you need, and a general service sequence for the paint pump. It is not a substitute for the ED655 manual, which has the exact procedure for your version.
Reading the ED655 Parts Diagram
The ED655 parts catalog at AllTitanParts.com is organized into assembly groups: the Titan ED655 paint pump assembly, the G-10 spray gun, the hopper assembly, and associated accessories. For pump service, the pump assembly diagram is the section you need. The original ED655 and the ED655 Plus have different pump layouts, so use the diagram for your version and do not mix part numbers between them.
The pump assembly exploded view shows the suction (inlet) valve, the diaphragm, the outlet valve seat and the prime/spray valve. The ED655 is a diaphragm pump, so there is no piston rod or packing stack. Each component has a reference number corresponding to an OEM part number in the adjacent parts list. Always order by the OEM part number, not the reference number alone.
ED655 Pump Service — Step by Step
Relieve Pressure and Clean
Follow the pressure relief procedure in the ED655 manual, then clean the sprayer with the solvent appropriate to the coating. Never skip pressure relief before servicing.
Identify Parts Before You Open the Pump
Pull up the ED655 pump assembly diagram on AllTitanParts.com's parts diagram tool and confirm the OEM part numbers for the valves or diaphragm you need before you start. Having the right parts confirmed means no waiting mid-repair.
Check the Hopper Filter
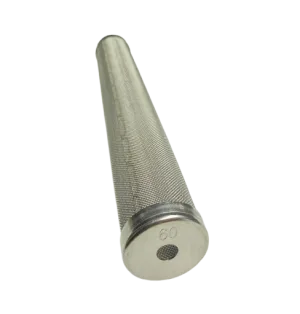
A clogged hopper filter is one of the manual's listed causes of a sprayer that will not prime. Clean it with a soft brush and check that the hopper is not empty.
Clean and Inspect the Inlet and Outlet Valves
Stuck or worn inlet and outlet valves are listed in the manual as causes of no prime and low pressure. Clean them, check the ball and seat for wear or paint built up between them, and replace worn parts.
Check the Prime/Spray Valve
Confirm the prime/spray valve moves freely and seals. Replace the valve parts if they are worn, using the part numbers on the diagram for your version.
Leave Diaphragm and Hydraulic Work to the Manual
Diaphragm problems and low hydraulic oil are listed in the manual as faults that go to an authorized service center. Follow the ED655 manual rather than a piston-pump rebuild sequence.
Test Before Returning to Service
Prime with the appropriate fluid, bring the sprayer up to operating pressure and check for leaks, steady pressure and normal priming before spraying coating material.
ED655 pump and gun assembly parts are listed at AllTitanParts.com. For components across the broader electric airless sprayer parts range — Titan Impact, SprayTech, and Wagner models — the same diagram-based ordering process applies across every model in the catalog.
Shop These Parts
The OEM parts referenced in this guide:
Not Sure Which Part You Need?
Give us your model and symptom and we'll confirm the exact OEM part before you order.
(713) 931-0006 Order by Parts Diagram