
Test the pattern first, then hold the gun square to the surface at a steady distance. Start moving before you pull the trigger and release it before you stop. Overlap each pass by about half the fan. Keep the tip guard on and the trigger lock engaged whenever you are not spraying.
Safety before technique
An airless gun works at very high fluid pressure, and a jet of that fluid can inject coating through the skin. It can look like a small cut, but it is a serious medical emergency: get immediate medical attention and tell the doctor what the fluid was. So the safety habits come first, before any technique.
- Never point the gun at any part of the body, and never put a hand or finger over the tip.
- Never test the spray on skin.
- Keep the tip guard fitted. The 0289228 is one example; the Tip Guards page lists all four Titan guards.
- Engage the trigger lock whenever you stop spraying, even for a moment.
- Follow the pressure relief procedure in your sprayer's manual before changing a tip or working on the gun.
Set up
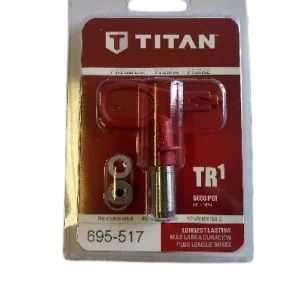
Choose the tip for the coating before you start. The orifice controls how much material is delivered and the fan angle controls the width, and thicker coatings generally need larger orifices. A 695-517 reversible tip, for example, is a 517: a 10 inch fan with a 0.017 inch orifice. Browse the options from airless spray tips, or start from the gun's own page under Titan Spray Guns, Tips & Accessories.
Then spray a test pattern on cardboard or scrap before you touch the real surface. You want an even pattern, with no heavy lines or streaks. If it is not even, adjust the pressure setting as your manual describes, or change the tip, before you start the job. Settings differ by sprayer and coating, so we do not give figures here.
Gun position
Hold the gun square to the surface and keep a steady distance. Square means the tip points straight at the wall, so the fan lands evenly across its width. Tip fan widths are rated at about 12 inches from the surface, so that is the figure behind a number such as 517, but your manual and the coating maker give the working distance for your setup.
Move your whole arm, not just your wrist. Pivoting the wrist swings the tip in an arc, so the gun is not square for most of the pass and the distance keeps changing. Distance and speed both affect how much coating lands, so keep them steady.
Trigger and motion
Start moving first, then pull the trigger. Release the trigger before you stop moving. The gun is slowest at the start and end of a pass, and spraying while it is slow puts too much coating in one place.
Position
Square to the surface, steady distance, trigger lock off only when you are ready.
Move
Begin the pass with the gun already moving.
Trigger on
Pull once you are moving at your working speed.
Trigger off
Release before the end of the pass, while still moving.
Overlap
Overlap each pass by about half the fan. Overlapping keeps the passes blending into one another instead of leaving gaps, and keeping the overlap consistent keeps the wall looking even.
When it goes wrong
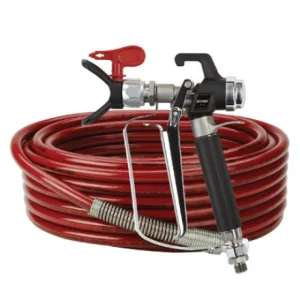
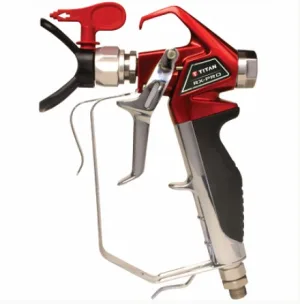
Pattern problems come from tip size, wear, pressure setting, distance and speed. Check the tip first, and your sprayer's manual (on our manuals page) for the pressure setting. A worn tip gives a coarse or streaky pattern, and the 695-517 or the SC-6+ 662-515 are examples of tips you may be replacing. Guns to look at on our site include the 0538006 RX-80, the 0538020 RX-Pro with a 517 TR1 tip and the 0550065 S-3 kit are examples.
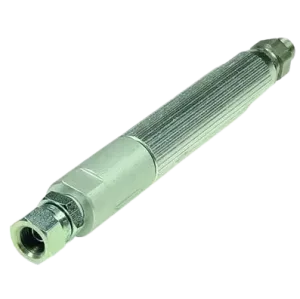
If your gun has no filter, the 550-223 in-line filter adds filtration. Clean your gun after each job so that you do not start the next one with a blocked tip.
Guns, tips and accessories mentioned in this guide:


 −15%
−15%
The Short Version
Safety habits first, then a test pattern. Hold the gun square at a steady distance, move before you pull the trigger and release before you stop, and overlap each pass by about half the fan. Check the tip when the pattern goes wrong.
Need a tip or guard for your gun?
Call (713) 931-0006 with your gun model and our parts team will confirm the part before you order.
(713) 931-0006Order by Parts Diagram