
Put the siphon tube in the paint and the return hose in a metal waste container, set the pressure to minimum and the valve to PRIME, and switch on until paint comes out of the return hose. Then switch off, move the return hose into the paint, set SPRAY and trigger into the waste container until paint flows freely. Fit the guard and tip last.
These steps are the Impact 440 manual's. Other models differ in valve names, pressure positions and even the order of steps, and gas and hydraulic units are different again, so treat this as a map of what priming is for and take the exact steps from your own manual. Manuals are on our manuals page.
Before the first use of a new sprayer
A new unit ships with test fluid still in the pump. The Impact 440 manual flushes it out with mineral spirits through the return hose for 15 to 30 seconds with the valve in PRIME. Do that before any paint goes in. Follow the solvent safety rules in the manual: ventilate, keep ignition sources away and ground the gun against the side of a metal waste container.
Set up: hoses, ground and container
- Plug the sprayer into a grounded outlet. The Impact manuals call for a minimum 12 gauge, three-wire extension cord with a grounded plug, and never remove the third prong or use an adapter.
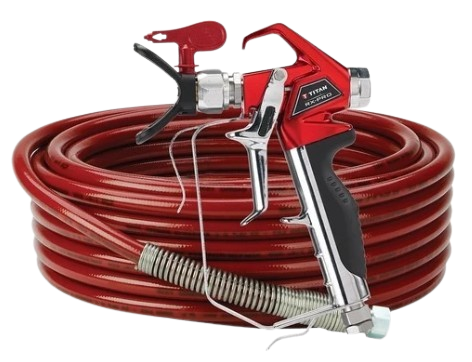
- Connect the grounded airless hose. The Impact 400, 440 and 640 manuals call for a minimum of 50 ft of 1/4 in. hose rated at or above the sprayer's maximum pressure. Inspect the hose for damage before you use it.
- Put the siphon tube in the paint. Check that its inlet screen is clean.
- Put the return hose in a metal waste container, not in the paint yet.
- Leave the tip guard and tip off the gun for now.
Prime the pump
Pressure to MIN
Turn the pressure control to its minimum setting.
Valve to PRIME
Set the PRIME/SPRAY valve to PRIME.
Switch on until paint reaches the return hose
Switch the sprayer on and watch the return hose. When paint comes out of it, switch off.
Bleed the air from the hose
Return hose into the paint
Move the return hose from the waste container back into the paint container.
Valve to SPRAY, switch on
Set the valve to SPRAY and switch the sprayer on.
Trigger into the waste container
Point the gun into the metal waste container, release the trigger lock and pull the trigger until the air and any solvent are gone and paint flows freely. Lock the gun again.
Fit the guard and tip, then set pressure
With the gun locked, fit the tip guard and tip. Never spray without the tip guard. Then raise the pressure slowly and test on cardboard: use the lowest pressure that atomizes the coating completely, which means no heavy edges (tails) in the pattern. Lower pressure reduces overspray, tip wear and strain on the pump.
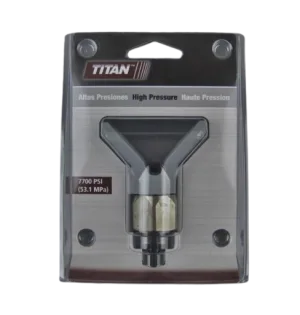
The guard and tip are the last parts on, which keeps them out of the way while air and solvent clear. If you need a spare, the 661-027 tip guard is on the tip guards page.
If it will not prime
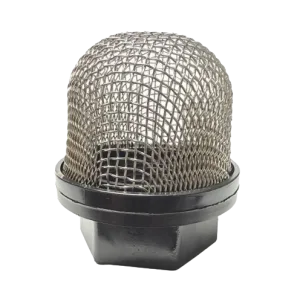
Start with the cheap checks. The inlet screen on the siphon tube may be blocked, so check it each time you change containers. An air leak on the suction side can also stop it priming. Worn inlet or outlet valves also cause pulsing, loss of pressure or a failure to prime. If these checks do not fix it, use your manual's troubleshooting table and open your model's diagram. The filters and hoses pages list the screens, hoses and fittings, and the Order by Parts Diagram page is the route to the pump parts.
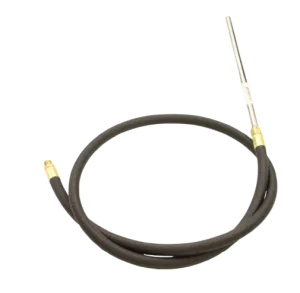
Parts you may need for the start-up path include the 700-1023A siphon hose, the 710-046 inlet screen and the 704-263A or 800-903 return hose. They fit different suction sets, so confirm yours on its diagram.
Parts for the start-up path:

The Short Version
Flush a new unit with mineral spirits, then prime with the return hose in a waste container and the pressure at minimum, bleed the hose into the waste container, fit the guard and tip last and never run the pump more than ten seconds without fluid. Check your own manual for the exact steps.
Sprayer will not prime?
Call (713) 931-0006 with your model and serial number and our parts team will help identify the part to check.
(713) 931-0006Order by Parts Diagram