
Relieve the pressure first, then rinse the gun with the right cleaner, brush the tip and guard clean in solvent, and clean the gun filter after every use. Use water for latex and mineral spirits for oil-based coatings. To clear a clogged reversible tip, rotate it 180 degrees and trigger once. Never clear a tip with a finger.
Always relieve pressure first
Rinse the gun and flush the line
The Impact 440 Series manual has you rinse the gun with a suitable cleaner and flush the hose into a grounded metal container. The cleaner depends on the coating: water for latex and mineral spirits for oil-based coatings. For other coatings, use the cleaner on the coating's data sheet.
When you flush with solvent, ground the gun against the side of a metal waste container. The Impact 400 manual also says to spray at minimum pressure with the tip removed when you use solvents. The flush is covered in our flushing guide, and this page stays with the gun side.
Tip and tip guard
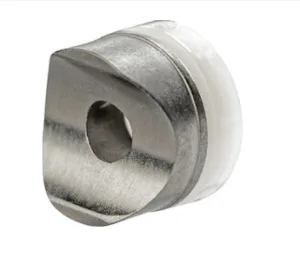
Take the tip and the guard off and brush-clean them in solvent so no residue remains. The Impact 400 and Impact 440 Series manuals both say so. Clean the outside of the gun the same way. Dried material seriously affects performance, per the Impact and RX-Apex manuals.
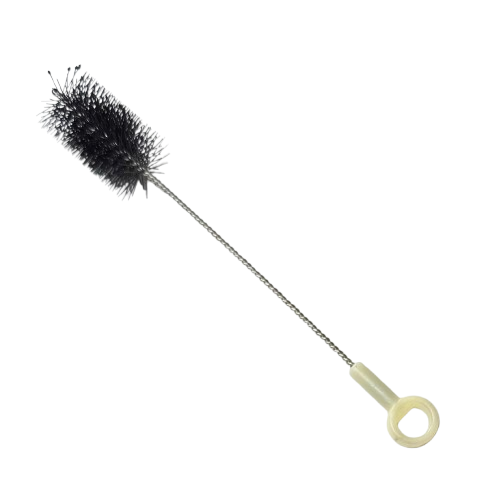
The site lists two cleaning brushes, the 0529411 and the 514209. Tip guards are on the tip guards page.
The gun filter
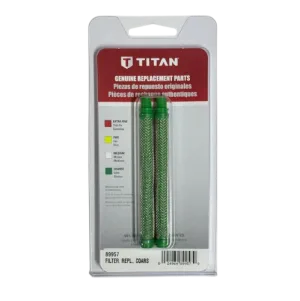
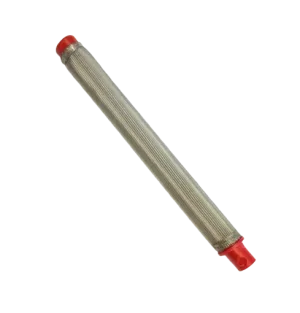
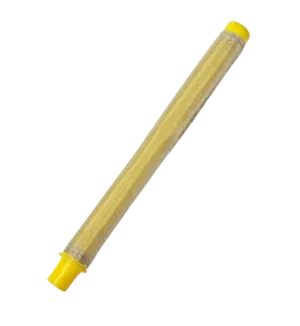
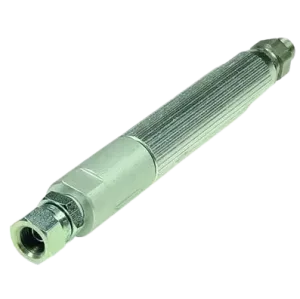
Titan's RX-Apex manual says the gun filter is cleaned after every use. Its filter chart has four filters from extra-fine (red, for varnishes) to coarse (green, for large surfaces). The site lists the 0089957 coarse green gun filter 2-pack, the 581-061 push red gun filter, the 581-062 gun filter and the 550-223 in-line gun filter. Which one fits depends on your gun, so check its diagram.
One thread note: the Impact 400 manual says its filter and gun filter threads are left-handed, so you turn clockwise to remove them. Check your own manual before you force anything. More filter information is on the Titan filters page.
Clearing a clogged tip
Lock the gun and relieve pressure
Lock the gun, switch off and follow your manual's pressure relief procedure.
Rotate the reversible tip
Turn the tip 180 degrees so the arrow on the handle points opposite the spray direction (RX-Apex manual; the ControlMax manual says the same).
Trigger once
Point the gun into a grounded metal container, unlock it and trigger it once to clear the clog, then lock it again.
Turn the tip back
Rotate the tip back to the spray position before you spray again.
Never clear a tip with a finger. Never trigger the gun unless the tip is in the spray or the unclog position.
Seals, seats and replacement
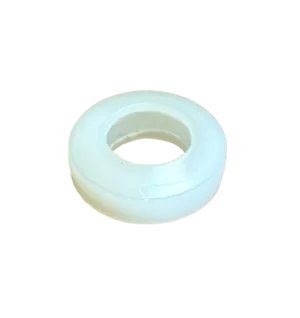
While the tip is off, look at the seal. Tip seals and seats are small parts: check them for damage. The site lists the 651-020 tip seal and the 661-020 tip seat and seal kit, 5 pack on the seals page, and the spray guns, tips and accessories page covers the guns themselves. A worn tip has a wider orifice: pressure falls, the pattern gets coarse or streaky and more paint is used. Replace the tip when the pattern degrades, and clean first, because a dirty tip and a worn tip look alike.
Dry and store the gun
Wipe the outside clean and keep the trigger lock engaged whenever the gun is not spraying. For a short stop, the ControlMax manual turns the tip 90 degrees, wraps it in a damp rag and bags the whole gun; follow your own manual for the way to leave yours.
Cleaning and replacement parts for the gun side:

The Short Version
Relieve pressure, rinse the gun with water or mineral spirits, brush the tip and guard clean, clean the gun filter, and clear clogs only by rotating a reversible tip. Check the seal while the tip is off.
Need a tip seal, filter or brush?
Call (713) 931-0006 with your gun or sprayer model and our parts team will confirm the part.
(713) 931-0006Order by Parts Diagram