
Relieve pressure, take off the tip and guard, then put the siphon tube in water for latex or mineral spirits for oil-based coating. With the valve on PRIME, run the pump until paint stops leaving the return hose. Switch to SPRAY and trigger into a grounded metal container until clean solvent comes from the gun. Titan gives no set time or volume.
Why you flush after every job
Titan's manuals tell you to clean the sprayer, hose and gun thoroughly after each day's use, and they warn that dried material seriously affects performance. That is the whole case for flushing. Coating left to dry in the pump, hose or gun does not stay where it is: it ends up in the pump filter, the gun filter and the tip, which are the first places to check when a pattern goes bad on the next job.
Latex is the one to be strict about. If it dries in the pump, you are no longer cleaning, you are repairing. Flushing is a routine you do once the spraying is finished. Rescuing a pump full of dried paint is a much bigger job.
Before you start
- Relieve pressure first. Use the pressure relief procedure in your model's manual. Titan's Impact 440 and RX-Apex manuals both state that turning off the motor does not release the pressure.
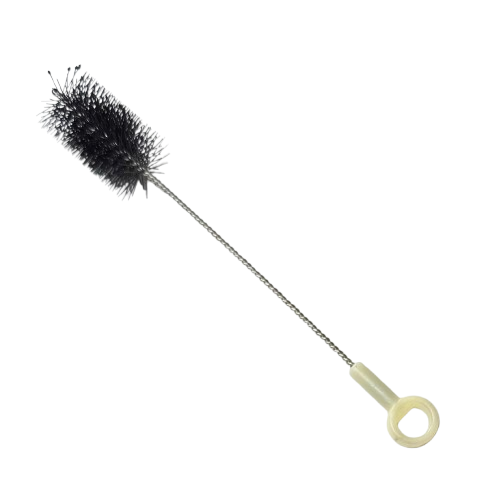
- Remove the tip and the tip guard and brush-clean them in solvent. A cleaning brush keeps your fingers out of it.
- Have a metal waste container ready for the return hose and for the gun. It needs to be metal because the gun gets grounded against it (see the solvent safety section).
- Choose the flushing liquid to match the coating you just sprayed.
What to flush with
| Coating you sprayed | Flush with | Source or note |
|---|---|---|
| Latex or other water-based paint | Water | The ControlMax manual specifically says warm soapy water for latex |
| Oil-based paint | Mineral spirits | Titan's blog names mineral spirits for oil-based coatings |
| Stains, textures and other coatings | The cleaner named on the coating's data sheet | Titan's blog says to use the cleaner the coating maker lists |
Never use gasoline to clean a sprayer. The ControlMax manual forbids it.
The flushing steps
Set up the lines
With pressure relieved and the tip and guard off, put the siphon tube in the flushing liquid and the return hose in the metal waste container. Pressure control goes to its flushing position, covered in the next step.
Valve to PRIME, set the pressure knob
Put the PRIME/SPRAY valve on PRIME. On the Titan Impact 440 and Impact 640 the pressure knob goes to RAPID CLEAN. On the Impact 400 it goes to minimum. RAPID CLEAN exists on some models only, so if your knob has no such setting, follow your own manual.
Run the pump until the return hose is clean
Switch on and let the pump push the flushing liquid through and out of the return hose. Titan's manuals say to run it until the paint is flushed out. The Impact manuals say never to run the pump for more than ten seconds without fluid, so keep the siphon tube under the surface.
Move to SPRAY and flush the hose and gun
Turn the valve to SPRAY. Ground the gun against the side of the metal container, with the tip still off, and trigger into the container until the paint is flushed from the hose and clean solvent comes out of the gun.
Relieve pressure again and unplug
Run the pressure relief procedure a second time, then unplug the sprayer. Do not leave it under pressure.
Solvent safety
Mineral spirits and other solvents give off fumes that can ignite, and flushing is the moment a spark is most likely. The manuals ask for the same few habits every time:
- Ground the gun by holding it against the side of the metal waste container while you trigger into it.
- With solvents, use minimum pressure with the tip removed (stated in the Impact 400 manual).
- Flush at least one hose length away from the pump, and outdoors if you can (ControlMax manual).
- No open flame or ignition source anywhere near the work.
After the flush
Flushing clears the pump and the hose; it does not clean everything. Titan's manuals say the gun filter is cleaned after every use, the pump outlet filter and gun screen are checked daily, and the inlet screen on the suction tube is checked each time you change containers. Clean the filters with the cleaning agent that suits the coating, check the O-ring on the pump filter housing, and put everything back before the next job. Clean the outside of the gun with a suitable cleaner and make sure no residue is left in the tip.
Do not spray the pump with water or cleaning solution. The ControlMax manual says so, and the Hydra X manual says never to pressure-wash. Clean the outside of the sprayer without soaking it.
Then decide how to leave it. If you are starting again tomorrow, a short-term method is enough; for a longer layoff or cold weather, the manuals call for a different fluid in the pump. Your manual's storage section sets out which.
Hydra and other models
The steps above come from the electric Impact and ControlMax manuals. Gas and hydraulic Hydra sprayers have their own procedures, and the valve names and positions differ. The Hydra X manual also says to flush solvents at minimum pressure with the tip removed, and again never to pressure-wash. When in doubt, open the manual for your exact model from our manuals page and follow it over this guide.
Parts that make flushing routine
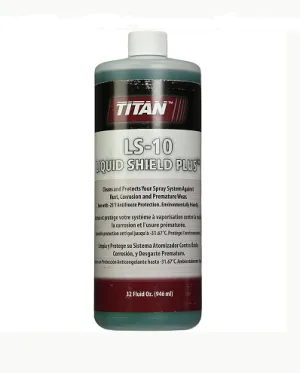
Flushing and cleanup items on the site
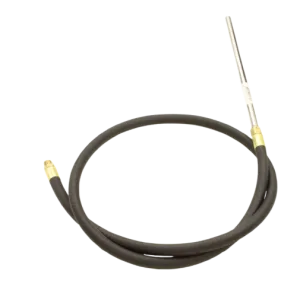
A cracked or kinked hose is worth replacing rather than taping. Titan's manuals say to replace a damaged hose, never repair it. If you cannot tell which suction or return hose belongs to your sprayer, the hoses page and the filters page list what the site carries, or call (713) 931-0006 with your model and serial number.
Cleanup items that come up most often after a flush:
The Short Version
Relieve pressure, tip and guard off, water for latex and mineral spirits for oil-based. Valve to PRIME until the return hose runs clean, then SPRAY with the gun grounded against a metal container until clean solvent comes out. Relieve pressure again, unplug, then clean the filters and gun. Where your model's manual differs, the manual wins.
Need the right hose, filter or storage fluid?
Call (713) 931-0006 with your sprayer model and serial number and our parts team will confirm what fits.
(713) 931-0006Order by Parts Diagram