
Before spraying, inspect the hose, make sure the tip guard is fitted, test the trigger lock, confirm every component's rating suits the system, clean the filters, strain the paint and test the pattern on scrap. At the end, lock the trigger, relieve pressure as your manual describes, flush and clean the system and gun filter, then store as the manual recommends.
Most airless gun problems and most injuries trace back to skipped routine steps. This checklist covers a spray day from start to finish. It does not replace your sprayer's manual: model-specific steps, such as the exact pressure relief procedure, are in the manual, which you can find on our parts manuals page.
Before you start
- Hose: look along its length for damage. Use only airless-rated, conductive or grounded hose as the manufacturer specifies.
- Ratings: check that no component, including hose, gun, tip guard and fittings, is rated below the lowest working-pressure rating you are running in the system.
- Tip guard: fitted, clean and not cracked or bent. See the tip guards page for Titan's four guards.
- Trigger lock: engage it and confirm the trigger will not pull, then release it as your manual describes.
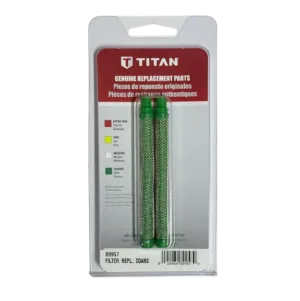
- Filters: the gun filter, inlet strainer and pump or manifold filter are clean. A partly blocked one causes pressure loss, pulsing and spitting. The unthreaded gun filter page lists replacements.
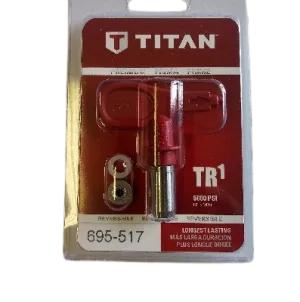
- Tip: clean and not worn. A worn tip has a wider orifice, so pressure falls, the pattern gets coarse and more paint is used.
Prepare the coating
- Stir the coating, then strain it.
- Thin it only as the coating maker allows.
- Check that the tip orifice and the sprayer suit the coating. Thicker coatings generally need larger orifices; fine finishes use smaller ones.
Start spraying
- Spray a test pattern on scrap before you spray the real surface.
- Hold the gun square to the surface and keep a steady distance.
- Trigger on after you start moving and off before you stop.
- Overlap each pass by about half the fan.
- If the pattern is poor, check tip size, tip wear, pressure setting, distance and speed before blaming the gun.
Breaks and tip changes
- Engage the trigger lock every time you put the gun down, even briefly.
- Before changing or clearing a tip, relieve pressure with the procedure in your manual.
- Keep the tip guard fitted whenever the gun is in use.
Shut-down
Lock the trigger
Engage the trigger lock before you do anything else.
Relieve pressure
Switch off and follow the pressure relief procedure in your manual, through the gun and the prime or drain valve as it describes.
Flush the system
Flush and clean the pump, hose and gun as your manual describes. Never leave latex or another coating to dry in the pump, hose or gun.
Clean the tip, guard and filter
Remove the tip and guard with pressure relieved and clean them. Clean the gun filter, which Titan's RX-Apex manual says to do after each use.
Check what wore
Look at the tip, seals, hose and filter. Replace what is damaged before the next job, not in the middle of it.
Store as the manual says
Store the sprayer with the fluid the manual recommends, and protect the pump against freezing as the manual describes.
Restock
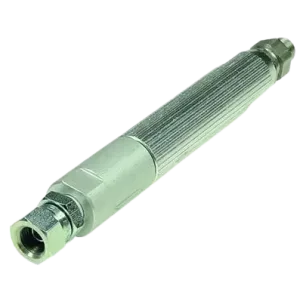
The check-what-wore step tells you what to reorder. Parts are ordered from the diagram for your gun: open the model, find the numbered callout and add the part. Titan's 550-223 in-line filter is one option for added filtration or a gun with no filter of its own. If you are not sure which part your gun uses, call (713) 931-0006 with the model and serial number.
Spares and the common wear parts on this list, with current prices.


The short version
Inspect hose, guard, lock, ratings, filters and tip before you spray. Test the pattern on scrap. At the end, lock the trigger, relieve pressure, flush and clean everything, and store as your manual says. Replace what wore before the next job.
Need spares for your gun?
Give us the gun model and we will point you to the filter, tip and seal that fit.
(713) 931-0006Order by Parts Diagram