
Stir the coating, strain it, and fit a gun filter mesh that suits the coating and tip. Thin it only as far as the coating manufacturer allows. Pick a tip by the coating (orifice) and the surface (fan), then spray a test pattern on scrap or a hidden area before you start on the real surface.
Why preparation decides the finish
An airless gun pushes coating through a tip opening that is only a few thousandths of an inch wide. A lump, a dried skin or a bit of grit that would be harmless on a brush is enough to block that opening or the filters ahead of it. Most spitting, pulsing and sudden pressure loss in the middle of a wall starts with something in the paint, not with the gun.
Preparation also means matching the setup to the coating. Latex, oil-based paint, stains, textures, elastomerics and protective coatings do not all spray through the same tip size, and some are better suited to a different class of sprayer. The coating's data sheet and your sprayer's manual are the places to confirm that, and this is a short list of what to check before you pull the trigger.
Stir and strain
Stir the coating until it is uniform, then strain it. Pigment and solids settle at the bottom of the can, and a skin or a few dried flakes at the rim end up in the pump if you pour straight from the can. Straining takes a minute and keeps those solids out of the system.
Airless systems usually stop solids at three points, and it helps to know where each one sits:
- The inlet (suction) strainer on the pump pickup. Screens are on our Inlet Screens page, for example 710-046.
- The pump or manifold filter, between the pump and the hose.
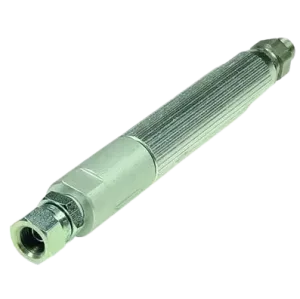
- The gun filter, the last screen before the tip.
Straining does not replace the filters. It keeps the work off them. A filter that fills with debris causes pressure loss, pulsing and spitting, which is why a clean, strained coating and clean filters go together.
Match the gun filter to the coating
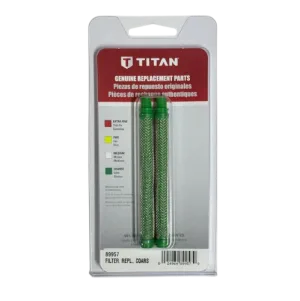
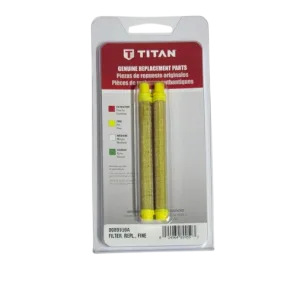
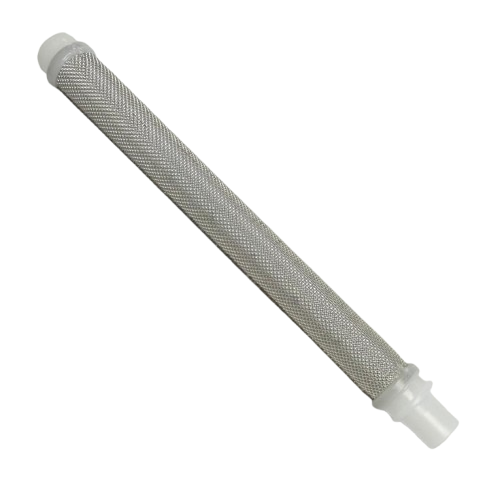
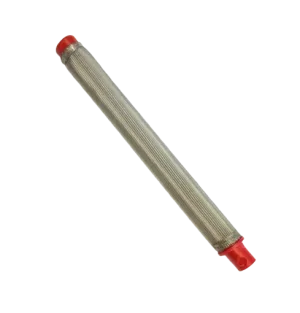
Titan colour-codes its gun filters by mesh. A lower mesh number is coarser and passes more material; a higher number is finer and stops smaller particles. The codes on the Titan filters sold here are:
Titan gun filter colour and mesh code
| Colour | Mesh | Grade | Part numbers on our site |
|---|---|---|---|
| Green | 30 mesh | Coarse | 581-059, 0089957 (2-pack) |
| White | 60 mesh | Medium | 581-060 |
| Yellow | 100 mesh | Fine | 581-062, 0089959 (2-pack) |
| Red | 150 mesh | Extra fine | 581-061 |
Titan makes unthreaded filters for the RX-Pro, RX-80, G-10, LX-30/40/50/70, S-3, S-7 and GM 3600, and threaded filters for the LX-80 and LX-80 Platinum. Confirm which your gun takes before ordering.
Which mesh to use depends on the coating and the tip, and the coating maker and your gun's manual are the authority on that. As a general rule, a finer filter protects a small tip better but clogs faster with thick or heavily pigmented material. If a gun filter keeps blocking, check the filter against the coating before you assume the tip is at fault. Titan says its gun filter helps reduce tip plugging. Our unthreaded gun filter page and threaded gun filter page list the full range.
Thinning
Thin only as the coating manufacturer allows. The can and its data sheet say whether the product may be thinned, with what, and by how much, and they differ from product to product. We do not give a ratio here because there is no figure that is right for every coating.
Adding thinner to hide a bad tip choice, or to make a sprayer cope with a coating it is not suited to, usually trades one problem for another. If a coating will not spray through your tip as supplied, check whether a different tip is the answer before you add anything.
Pick the tip before you start
The orifice (the opening) controls how much material is delivered, and the fan angle controls how wide the pattern is. Thicker coatings generally need larger orifices; fine finishes use smaller ones. Choose the orifice by the coating and the fan by the surface: a wide fan for big flat areas, a narrow one for trim and detail.
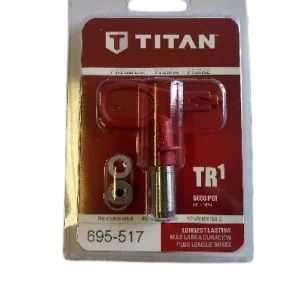
Titan tip numbers follow the usual industry code. Take the first digit and double it for the fan width in inches at 12 inches from the surface. The last two digits are the orifice in thousandths of an inch. So a 517 gives a 10 inch fan with a 0.017 inch orifice. Reversible versions of that size are 695-517 in the TR1 range, and the full range is on our airless spray tips page. Replace a worn tip rather than spraying with it: a worn orifice is larger, pressure falls, the pattern turns coarse or streaky and more paint is used.
Test the pattern
Before the real surface, spray a test pattern on cardboard, scrap board or a hidden area. You are checking that the edges are even along the whole fan and that the coating is atomising evenly. If it is not, the usual causes are tip size, tip wear, the pressure setting, your distance from the surface and your speed.
Spray a short test
Hold the gun square to the test surface and trigger on after you start moving and off before you stop.
Read the pattern
Streaks or heavy edges point to the tip, the filters or the setup rather than to your technique, so check those first.
Adjust one thing at a time
Pressure, distance and speed. Change one, test again, and follow your sprayer manual for the pressure setting.
Relieve pressure before changing the tip
Follow the pressure relief procedure in your model's manual, engage the trigger lock and keep the tip guard fitted whenever you are not changing the tip.
Preparation items that are easy to run short of on the day:

The Short Version
Stir, strain, fit a gun filter that suits the coating, thin only as the maker allows, pick the tip for the coating and the surface, and test the pattern on scrap. Most clogs and bad patterns are settled in those five steps before the first real pass.
Need a filter or tip for your gun?
Call (713) 931-0006 with your gun model and the coating you spray, and our parts team will help you match the filter and tip.
(713) 931-0006Order by Parts Diagram