
Relieve pressure first, then flush the gun outdoors, at least one hose length from the pump, with the gun grounded against the edge of a metal container. For short-term storage after latex, Titan's Impact 640 manual has you pump water mixed with Liquid Shield through the whole system. For long-term or cold-weather storage it uses mineral spirits. Your own model's manual has the exact steps.
Why cleanup decides pump life
Latex and other coatings that dry inside the pump, hose or gun do damage you do not see until the next job. Dried film jams the inlet and outlet valves and clogs the filters and the tip. A scored piston rod destroys new packings, so a rushed cleanup can turn into a fluid section repair.
This guide follows Titan's Impact 640 manual, and the Impact 340 manual excerpt agrees with it on cleanup and storage. Titan's other Impact manuals may word things differently, so read the one for your model before you start.
Pressure relief and grounding
Relieve pressure before you clean, change a tip or touch any part of the system. Switching the motor off does not do it: Titan's Impact 410 manual says the PRIME/SPRAY valve or the bleed valve must be operated. The Impact 640 manual lists the steps. Lock the gun, turn the sprayer off, turn the pressure control knob counterclockwise to OFF, take the gun off lock and trigger it into a grounded metal container, put the gun back on lock, then set PRIME/SPRAY to PRIME. That sequence is the 640's. Your own model's manual governs.
The 640 manual also sets the rules for flushing the gun. Do it outdoors, at least one hose length from the pump, and ground the gun by holding it against the edge of a metal container. Treat the grounding step as part of every flush, not an option.
Short-term storage after latex
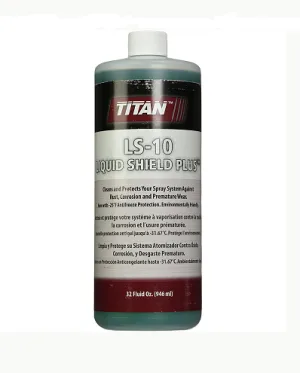
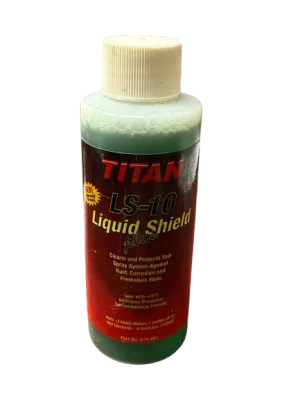
For storage between jobs with water-based coatings, the 640 manual has you pump water mixed with Titan Liquid Shield through the whole system, not just the pump. The mix and the pumping steps are in the manual. We do not give flush volumes or times here, because they depend on the model.
The site lists Liquid Shield in two forms: 314-482, Liquid Shield in a 1 quart size, and 314-483, Liquid Shield Plus in a 4 oz bottle. Have one on the truck before you finish a latex job, not after.
Long-term or cold-weather storage
The 640 manual's method for long-term or cold-weather storage is to pump mineral spirits through the whole system. It also describes Liquid Shield as a preservative before extended storage, so read the manual's wording for which one it asks for and when.
Water left in a pump is the thing to avoid in cold weather, because the pump needs protecting against freezing as the manual describes. If the sprayer will sit through a cold spell, use the long-term method rather than the short-term one.
Filters, tip and gun
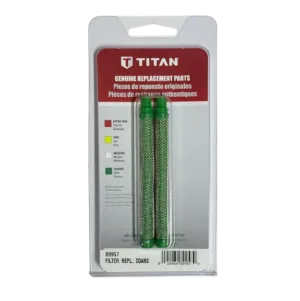
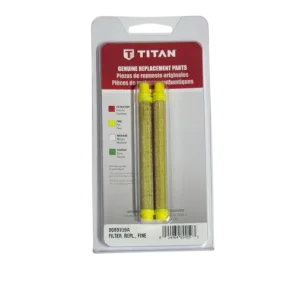
Airless systems usually have three filters: the inlet screen on the suction set, the manifold (pump) filter and the gun filter. Titan's 640 manual tells you to inspect the pump filter and the gun filter and clean or replace them, and says dirty filters cause a poor pattern and clogged tips. Clean them after every job. A partly blocked filter shows up as pressure loss, pulsing and spitting well before it blocks completely.
Cleanup items the site lists for Impact sprayers
| Part | Number | Notes |
|---|---|---|
| Gun filter, coarse (green, 2-pack) | 0089957 | Listed on the accessories pages of the Impact diagrams |
| Gun filter, 100 mesh (yellow) | 0089959 | Pick the mesh that suits the coating |
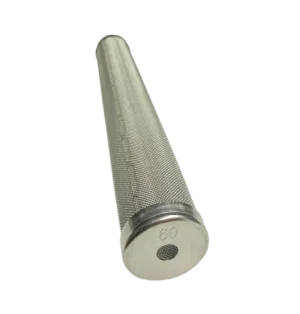
| 60 mesh manifold filter | 730-067 | On the 440, 540, 640, 740, 840, 1040 and 1140 diagrams; the 1040T diagram uses the 100 mesh 730-067-10 |
| Inlet screen | 710-046 | Listed on the low rider siphon assembly pages; other models use inlet screen filter 700-805 |
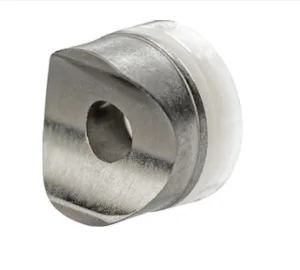
| Tip seat and seal kit (5 pack) | 661-020 | On the accessories page of every Impact model |
Open your model's accessories and suction set pages to confirm which screen and filter your sprayer uses.
Check the tip while it is out. A worn tip has a wider orifice, so pressure falls, the pattern gets coarse or streaky and more paint is used. If a pattern that was clean last week is rough after a good flush, replace the tip before you blame the pump. The tip seat and seal kit is the small item to restock.
Lubricate and store
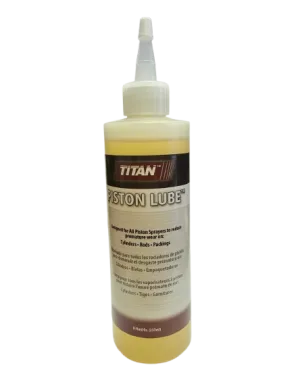
The piston packings need lubrication to stay supple. Piston Lube is the product Titan names, and the site lists 314-480 in the 8 oz size. How you apply it depends on the model. The 640 manual describes an oiler reservoir filled with Piston Lube and a button you press. The Impact 410 manual excerpt describes oiling the wet cup and the inlet valve. Titan lists the AutoOiler on the 440, 540, 640, 740, 840, 1040 and 1140, but not on the 340, 400 or 410. Follow the lube steps in your own manual, not the 640's.
Relieve pressure
Follow your manual. Do not assume switching the motor off did it.
Flush outdoors with the gun grounded
At least one hose length from the pump, gun held against the edge of a metal container.
Pump the storage fluid through
Water mixed with Liquid Shield for short-term latex storage, or mineral spirits for long-term and cold-weather storage, as the manual describes.
Clean the filters and check the tip
Pump filter, gun filter and inlet screen. Replace a tip that has stopped giving a clean pattern.
Lube the packings and put the sprayer away
Use Piston Lube the way your model's manual describes, then store the sprayer clean.
Gun filters, Liquid Shield, Piston Lube and the tip seat kit on the 640 diagram.
The accessories page for the 840.
The accessories page for the 1040.
The accessories page for the Impact X 440.
Find the manual for your exact model before you flush or store.
Cleanup and storage items:
The Short Version
Relieve pressure, flush outdoors with the gun grounded, pump the right storage fluid through the whole system, clean the filters and tip, lube the packings and store it clean. The exact steps are in your model's manual, which is on our manuals page.
Not sure which filter or screen your Impact uses?
Call (713) 931-0006 with your model and serial number and our parts team will confirm it before you order.
(713) 931-0006Order by Parts Diagram